Red Beans and Rice

About 2 years ago, my husband’s Grandfather was quite ill, and getting older and asked us to come visit him and spend time with him. Since my husband has a job where he can work from home, we had the freedom to go down to Panama City Beach, FL and spend time with him and some of my husband’s other family for an extended period of time. It was so bittersweet; while we were there, my husband’s granddad passed away. The sweet part is that we were there, we got to express how much we truly loved him… AND my children really got to build memories with their great granddad. They will always remember that time there with him, and connect that place with him. I will always be grateful and glad for that time that we set aside to make him feel loved… and build those memories. All that to say, while we were there, there was a hurricane warning… we decided to evacuate. The safest place at the time was New Orleans! (This was the hurricane that just PUMMELED southern Florida.) So, we evacuated to New Orleans, just to be safe, and got to visit that amazing city! We stayed in the Garden District, and tasted the food, took in the history and the sights and really got to experience New Orleans for about 4 days. Our kids LOVED it! We rode the trolley from our hotel in the Garden District all over the city. We went to the Zoo, got beignets, had chicory coffee for the first time, heard live music… it was incredible! One thing we took home with us was our love for the cajun food. We visited Emeril’s restaurant one night while we were there (Which, by the way, if you ever go to New Orleans… TRY to get in there, it was OUT OF THIS WORLD!) and tried Red Beans and Rice! I know… not something new to a lot of people out there… but it was new to me! I had heard of gumbo and jambalaya before… but this was new. I had to figure out a way to make this at home! So… I did adapt it and made it my own! I just couldn’t take the HOURS AND HOURS that they take to make it, so I modified and made my own quick version. Their version is of course a bit more rich and refined… but mine is DEFINITELY delicious. My husband loves this dish so much, he requests it about 1x per week. I don’t make it THAT often, but I try to about once or twice a month. You can also adjust the spiciness to whatever you desire. This is a good one!

The finished product… not the prettiest, but definitely some of the most delicious!

While I write out this recipe… I will probably tell you MANY different optional things. For one… I used pinto beans this time I made it, so that will be in the ingredient list. Sometimes I use literal “red beans”. It’s so hard, because depending on which grocery store you go to, will really determine whether or not they have the beans I want. I’ve used canellini beans, black beans, etc. I am not a fan of kidney beans… too thick of skin… but if you like them and have an extra can already, use them! I prefer, for this dish, to use beans that are lighter in color and have thinner skin. They break down a bit easier and help thicken up the dish quicker that way.
Another thing that I change out is the type of pork I use. Sometimes I change it each time I make it. Sometimes I put bacon in when I am sauteeing the onions and garlic. Sometimes I precook it and sprinkle it on top after I am done. SOMETIMES I don’t add any bacon… like this time. No Bacon. Sometimes I use turkey kielbasa, sometimes I use Andouille sausage, sometimes I use both. The thing I like about it is that I can make it taste delicious no matter how I change it up. I like to try and use what I already have. So…. that’s kind of a quick note on this recipe. Let me know if you have any questions!

Ingredients

2 cans “red” beans (I’ve used pinto, pink beans, or SMALL red beans)
1 bell pepper chopped up (I used yellow in this recipe, cuz it’s what I had.)
2 TB olive oil
1 sweet yellow onion chopped
2 tsp minced garlic
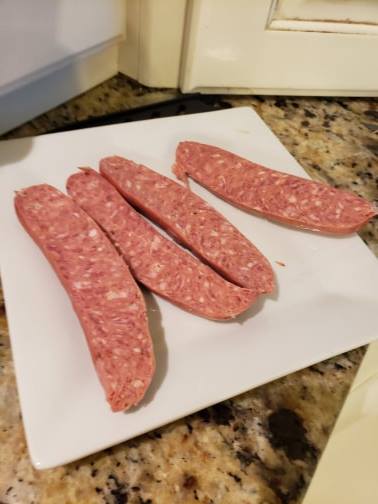
4 links andouille sausage (I used Aidell’s brand) cut into bite size pieces
** You can use 2 links andouille, and 1/2 of a turkey kielbasa… OR just kielbasa as well!
1/2 package of deli ham (Really about 1/2 lb of any thinly sliced and chopped ham will do)
** optional, 3 slices of bacon
1/4 tsp salt
1/8 tsp cayenne powder (You can use more if you like it spicier than that)
1/2 tsp red chili flakes
1/4 tsp onion powder
1/2 tsp dried oregano
1/4 tsp ground black pepper
1/2 tsp dried thyme
2 dried bay leaves
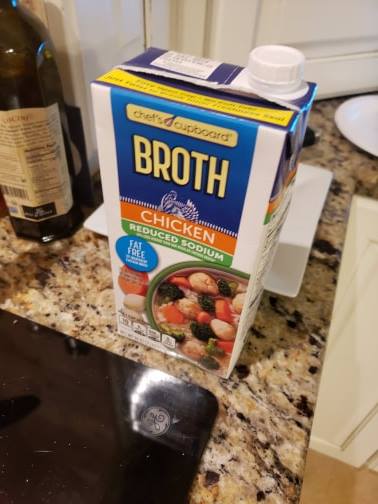
1 quart chicken broth (bone broth would be good too!)
1-2 cups of water
1-2 cups rice – (that’s the uncooked measurement… cook according to package directions and set aside)
chopped fresh parsley to garnish if you’d like

Directions

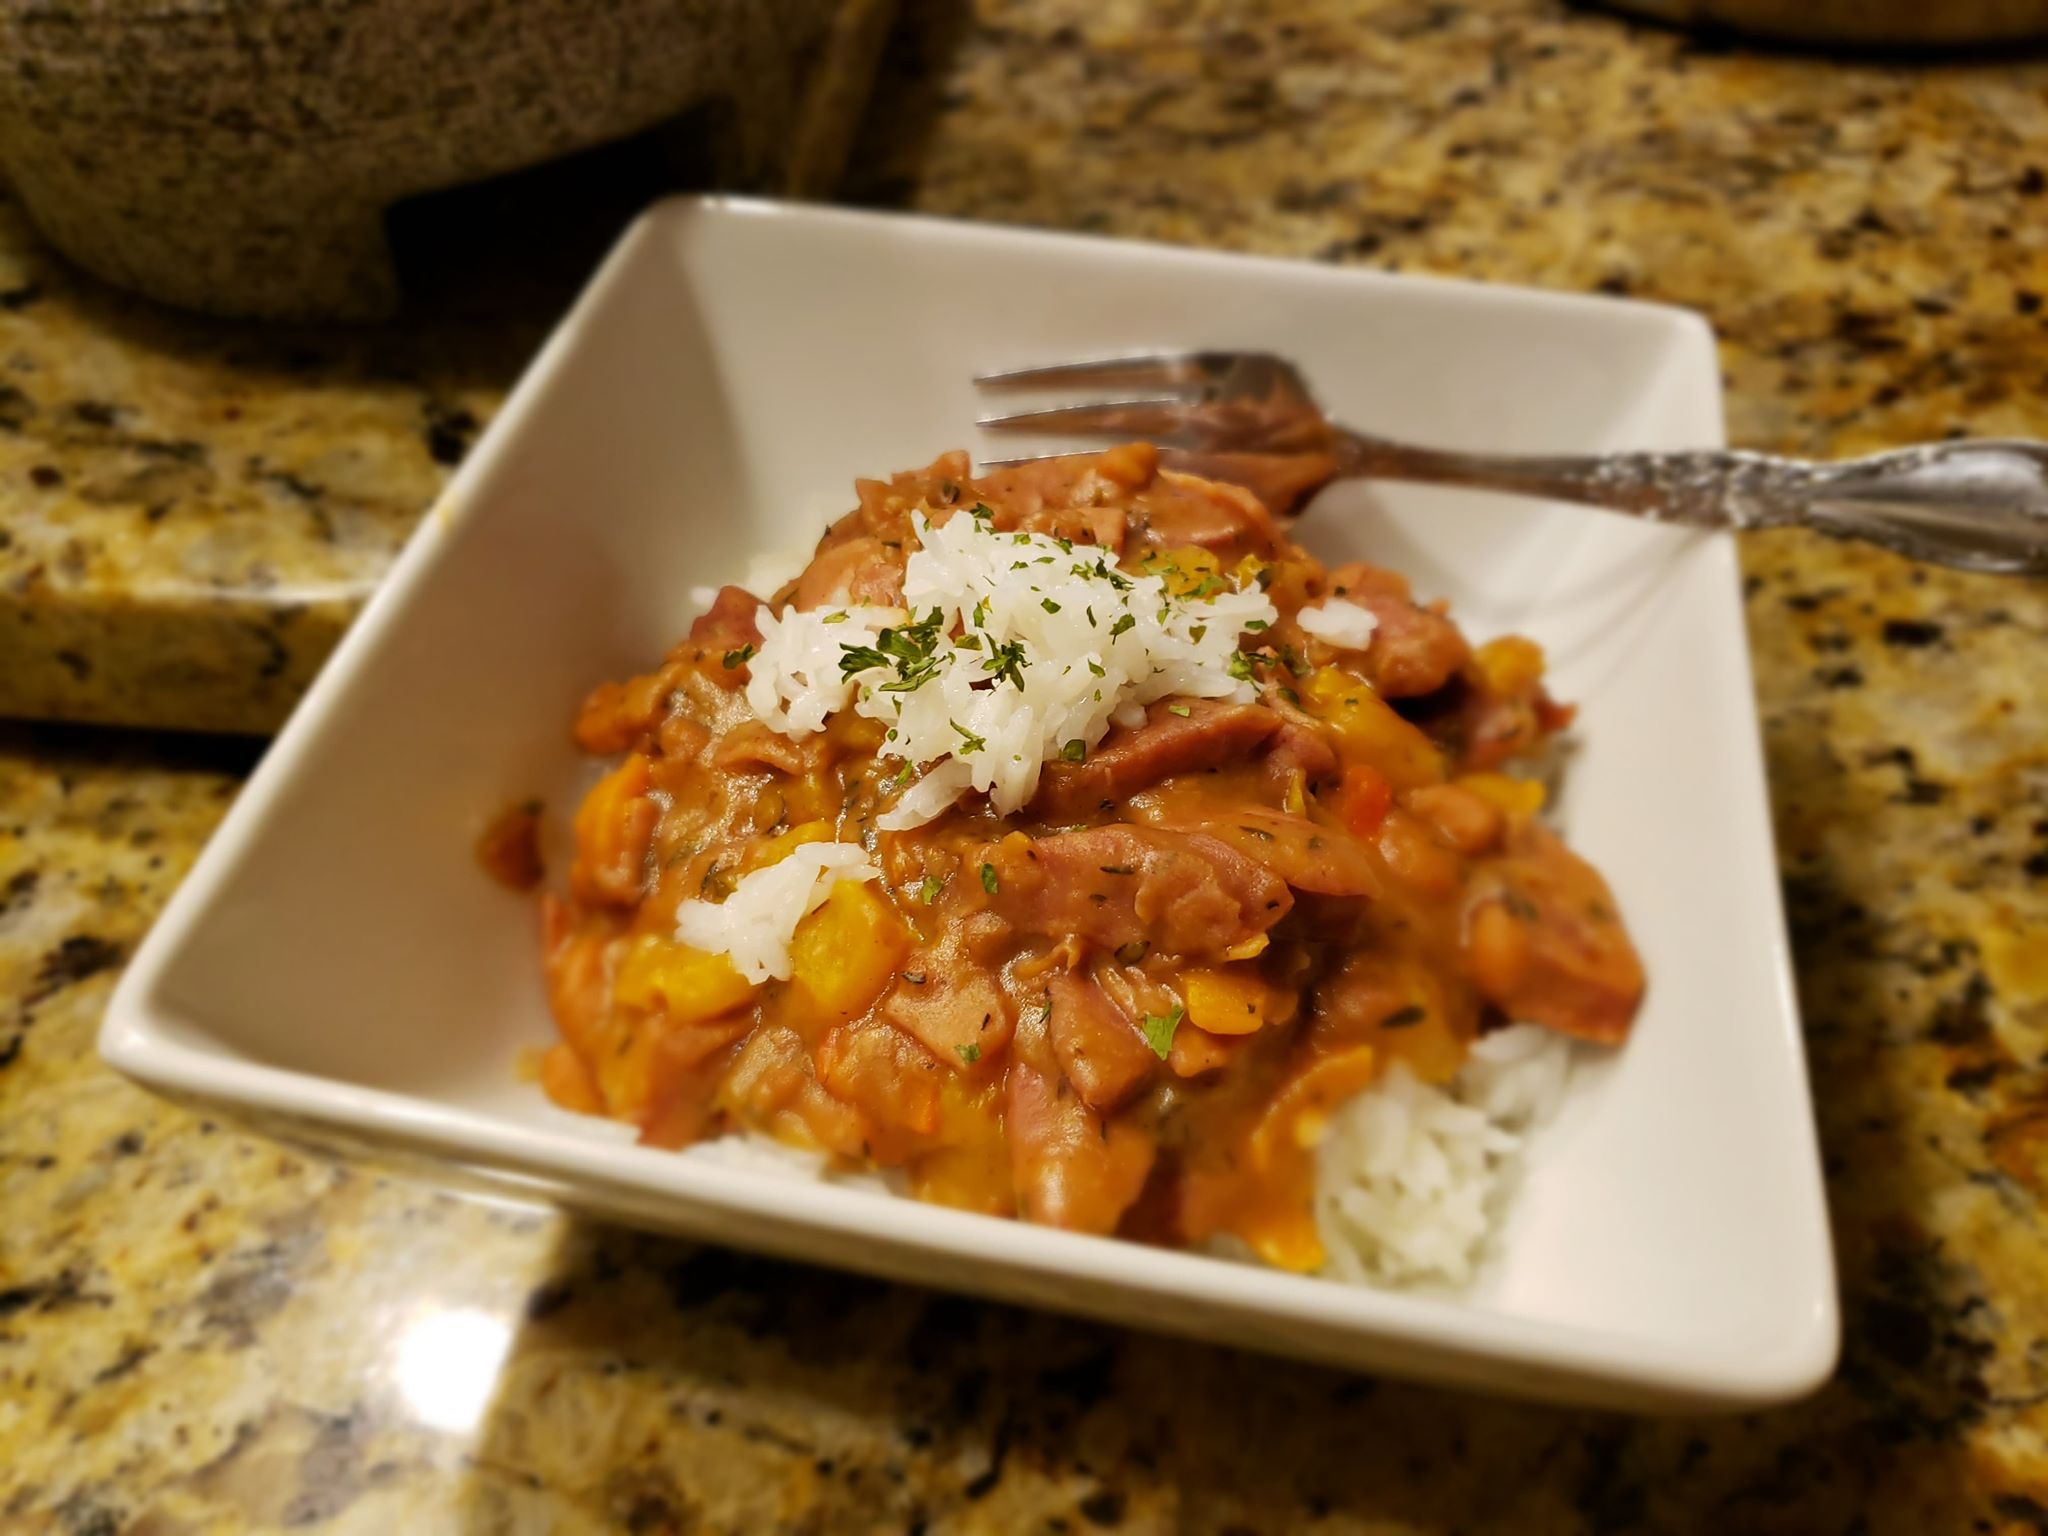
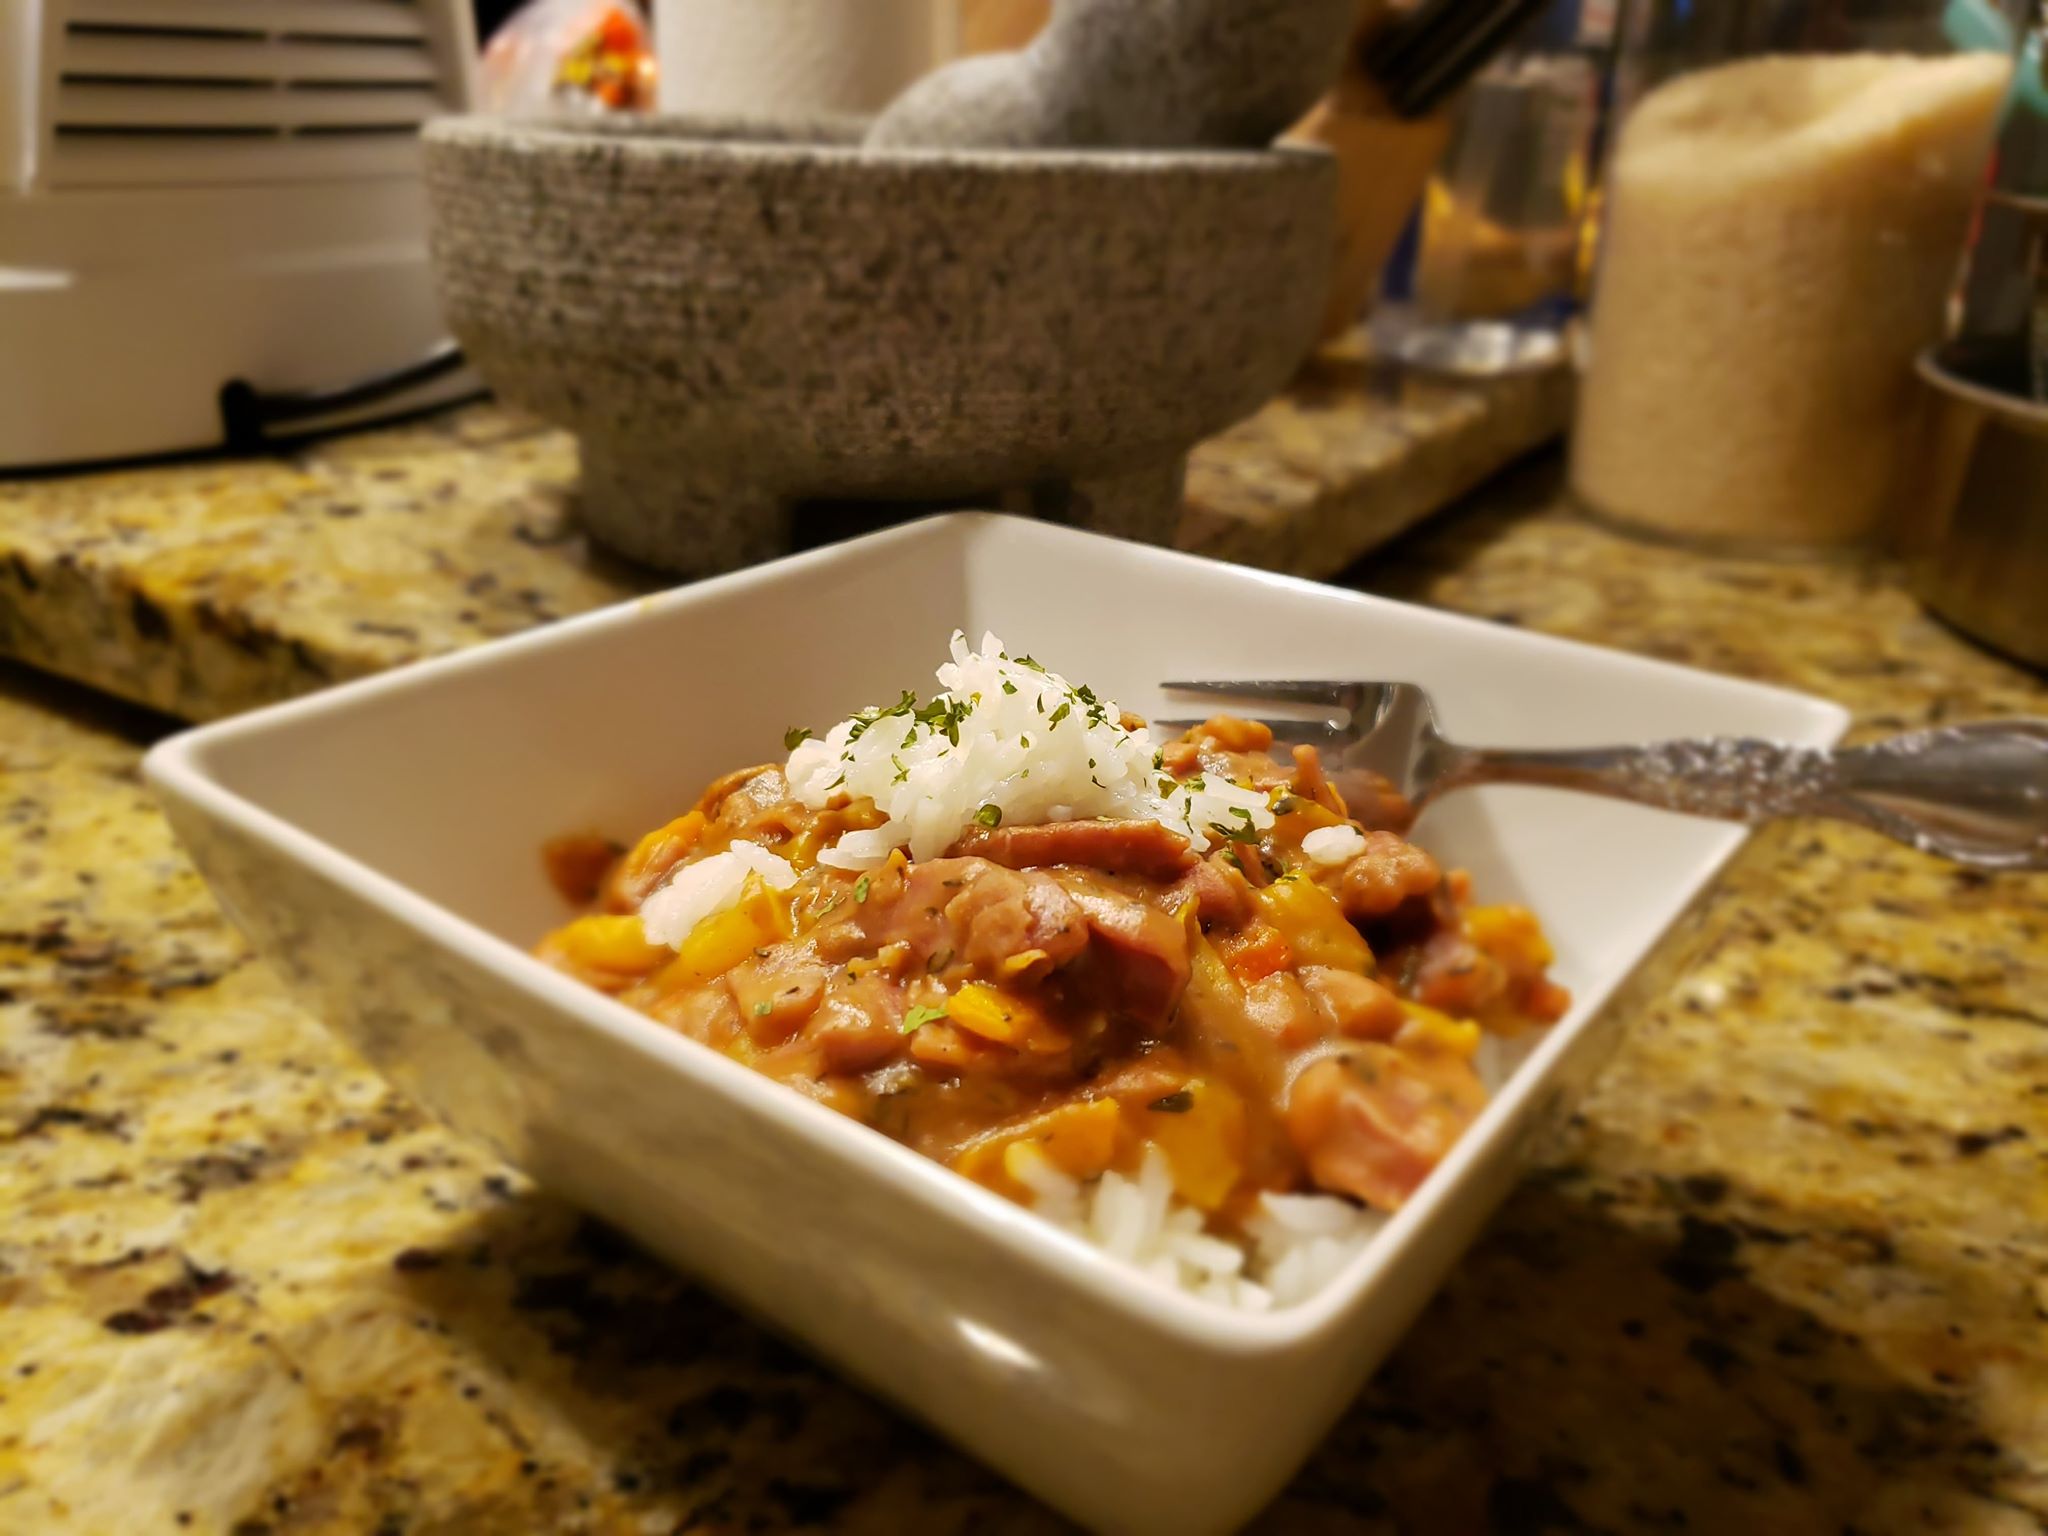
Heat the oil in a large saucepan over medium-high heat. Saute the onions (and chopped up bacon if you choose to use it), bell peppers,and seasonings, for about 5 minutes. Add the bay leaves, ham, and sausage and saute for 5 to 6 minutes. Add the beans, garlic, and enough chicken broth to cover the contents in the pot. Bring to a boil. Reduce the heat to medium and simmer, uncovered, stirring occasionally while it thickens. While you are stirring, use your spoon to mash some (about half) of the beans against the side and bottom of the pot. When it starts to thicken, as it gets to the point of thickness of the picture below (where when you drag your spoon across the bottom of the pan, and it takes a moment to slide back together) add another 1/2 cup of broth. Keep adding until you’ve used the entire quart of chicken broth. Once you’ve used the entire quart, you can continue to cook and add water as it thickens as long as you’d like up to 2 hours. That will produce a thicker, darker and richer result. I usually only cook mine until I’ve used up my entire quart plus 1/2 cup of water. That takes about 45 minutes and serves 4-5 people, depending on how many times people go back for seconds!

Remove the bay leaves and serve over steamed rice.

I’ve been listening to a lot of Carrie Underwood lately… so I had to post this song!
Advertisement

Baked Gnocchi with Keilbasa, Spinach and Herbs and some Fresh Mozzarella

Trying to get creative with cooking lately sometimes leaves me stumped… because I feel like I’ve tried to cook just about everything. My husband has even gifted me with cooking classes here locally so I can learn how to make dishes that are a bit ambitious for me… so I can learn how to do it correctly… and it was so fun! I learned how to make risotto! I even ventured and made a jambalaya risotto. Now, that will be on a blog at a later time, it is probably one of my favorite ways to make it! For my birthday this year, he is going to go to a cooking class WITH me! Some of the things I still want to learn how to perfect are: Salmon, homemade pasta (of all kinds), bread with a starter, fish (other than salmon), bone broth, homemade tortillas, paella, a perfect poached egg, and homemade mayonnaise… just to name a few! I thought I was over learning new things… but I seriously cannot stop watching videos and cooking shows and Netflix shows about cooking. I love to learn new techniques and methods and recipes!
One of my FAVORITE shows is Chef’s Table on Netflix. I watch the show with a notebook sometimes, writing down ideas that I want to try… or a type of food that I want to research and attempt recipes of. Is it just me that does this, or does anyone else? The more that I cook, the more that I want to know. Especially cooking for my husband… he makes me feel like a James Beard award winning chef! He is my love… and he makes me feel so adored, that I would cook every day if he was the only person that ever noticed or loved it. He is my person.
Because he is so special, I had to make a special recipe for gnocchi!
This recipe came from the fact that I was at Aldi, and walked past a package of gnocchi and my mouth started watering… so I bought it. HA! When I got home later, I realized that I didn’t want to do just anything with it, or what I have done before… I wanted to do something NEW. There’s a few things that you can do with gnocchi, but it’s usually pretty traditional. I have a certain way I wanted to make it, and had to get a bit creative with the ingredients and the way I prepared it so that I could get it just how I wanted it. Luckily, it turned out DELICIOUS!! This dish will seem like it is a lot of steps, but they are QUICK steps, and won’t take as long as it seems like it will… and all of the steps are worth it, for the end result. It felt rustic, and like comfort food.

Ingredients:

1 package of gnocchi (I used Aldi Priano Gnocchi – I will post a picture)
1/2 (to a whole, depending on how many servings you want) turkey Kielbasa (you can also use Aidells andouille sausage) sliced into bite size pieces and set aside
1/2 cup baby spinach, roughly chopped
1/4 cup shaved parmesan cheese
1 ball of FRESH mozzarella, sliced
1/4 cup dry white wine (you can use chicken broth instead, just use 1/2 cup)
1/4 cup chicken broth
2 to 3 TB butter
2 tsp minced garlic
1/2 sweet yellow onion
salt and pepper to taste
1/2 tsp dried sage
1/4 tsp dried thyme
dash of dried red pepper flakes

Honestly, not the prettiest dish to photograph… but can you imagine the taste of that stringy, melted FRESH mozzarella over the crispy gnocchi?!?!?!?!

Directions:

Start by bring a large sauce pan full of water to boil with a dash of salt in it. Cook the gnocchi based on the instructions on the back of the package. Once cooked, strain and leave in a strainer and set aside.
Preheat your oven to 375 degrees.
Meanwhile, chop your onions, kielbasa, and spinach.
Heat a skillet, or dutch oven on the stove with 2 TB butter in it. Heat it at medium so you do not burn the butter. Take the onions, and put into the butter and start to saute. Add the cooked gnocchi to the pan and evenly space them so none is overlapping. Let simmer and crisp on the one side for about 2 minutes until they are slightly crisp and golden brown. Flip and do the same on the other side. Once browned on both sides, add the kielbasa, garlic, and seasonings and wine and chicken broth. Give a good stir to combine. Add the chopped spinach and stir until it just starts to wilt. Flatten out a bit and top with the sliced mozzarella, evenly spaced, and then sprinkle with a bit of the parmesan. Put into the preheated oven for 15 to 20 minutes, until the cheese is melted, bubbly and slightly browned.

Makes 4 servings.

Then, SERVE!

This dish just warmed me through, I felt like it was a dish I would crave in the winter when I just needed some comfort food to warm the soul. My husband ate the leftovers for 2 days! I love the crisp on the gnocchi, where it’s soft and pillowy inside, but has a nice crunch on the outside… PERFECT!

One of my new favs 🙂

Carrot Cayenne Soup with Sourdough Grilled Cheese

This Cozy Cayenne Carrot Soup is PERFECT for a chilly day!

For those of you who do not know me, my love language is quality time. Have you heard of “love languages”? It’s an amazing book that helps you speak love in a language that your partner best understands. Brilliant! Anyway, my husband has gotten a lot better at taking me out on dates, and I really really have enjoyed it! My parents recently sold their home in NC, and moved in with us while they look for land in the area here, near us. Since Papa and Grandma are HERE, and they TELL us to go out on dates… we certainly can’t say no, can we!? HA! So, the other night, we went to this cute local cafe and they had a spicy carrot soup on the menu… and my husband LOVED it. He told me that he just knew I could make it, and that the next week he wanted me to see if I could recreate it. So, this is my version of spicy carrot soup… AND, I paired it with a sourdough grilled cheese…because, why have grilled cheese if it isn’t on sourdough?

Ingredients:

2 TB olive oil
2 TB butter
1 sweet yellow onion
1/4 tsp kosher salt
1/8 tsp ground black pepper
1/8 tsp turmeric
1 lb organic (doesn’t have to be, that’s what I used) carrots, peeled and cut in large pieces
6 cups vegetable broth
1-2 tsp madras curry powder
dash of coriander
1/8 tsp cayenne (I am very weak when it comes to spice… add to your desired spiciness)
1 tsp minced fresh garlic
1/4 cup half and half
You will also need an immersion blender, high powered blender like a vitamix that can handle hot soups, or a food processor for this recipe.
Sandwich Ingredients:

1 loaf of sourdough bread (I bought mine from Publix)
1 block of sharp cheddar cheese
Butter

Directions:

Drizzle the olive oil into a large soup pot, and heat over medium heat (5 out of 10 on my stove). Add the onions, and saute until translucent and then add the cut up carrots and minced garlic. Let the carrots and onions simmer for about 2 to 3 minutes and add all of the seasonings, and add the 2 TB of butter. Stir until nicely combine and let simmer for about 3 minutes. After the 3 minutes, add the vegetable broth and turn the heat to high until it comes to a boil. Once it’s’ at a boil, bring back down to medium of medium low (3 to 4) and let simmer about 15 minutes or so, or until the carrots are SOFT.
Now, I poured the whole pot into my Vitamix and put it on the hot soup setting, and blended it until it was the texture I liked. I only had to blend for about 25 seconds. A food processor would have it be a bit more textured, the Vitamix makes it very velvety and smooth. An immersion blender would be good as well, and then you wouldn’t have to transfer it back and forth.
Once the soup is blended, if you have to, transfer it back to your soup pot and put on low heat to bring back up to desired temperature and add the half and half** and stir.
While your soup is reheating, make your grilled cheese if you want to add it to this meal.
Slice your sourdough bread to the desired slice thickness. I made mine on the larger size, but you don’t have to. Slather some butter on the outside of each slice of sourdough, 2 slices per sandwich you are making. Slice your cheddar cheese, about 5 to 6 thin slices of cheese per sandwich. Heat your small skillet over medium heat on your stove. Put the first slice of bread down on the pan, butter side down. Place the slices of cheese on the plain side up and then top with the next slice of bread, butter side up. Cook on medium heat until golden brown, and flip… doing the same on the other side. Should take about 4 minutes per side or so, depending on your pan and stove top.

Once your sandwiches are done, and the soup is nice and warm, serve! I sprinkled a tiny bit of cayenne and fresh ground pepper on top of the soup and served. This was so delicious!!! Cozy and warm, and not too spicy at all.
**Fyi, the half and half is completely optional, and not at all necessary.

Enjoy!

Just cuz this song is awesome, and so is Kelly Clarkson.

Air-fried Hash and Brussel Sprouts Topped with an Egg and Pesto

50916987_10100262504995388_8963612818519621632_n


So, here I am, blogging again. Two years is quite a long time to take a hiatus. A lot has happened in that time… a lot! We aren’t even living in the same house… much less the same city. We have had adventures, losses, joys and sorrows. The same as a lot of others, I’m sure. I have really missed blogging, especially when my husband posts a picture of what I cook on facebook, and someone asks for the recipe… and I have to say “I have NO idea what I did!!”. It’s an effort and a habit to pay attention to what I am doing with how I am cooking. Writing down measurements, ingredients, cook times and heats…. otherwise I am just cooking based on taste and feeling… which I LOVE to do!! Cooking is my passion, my stress reliever and a joy. I have been cooking A LOT, especially lately, in my “new” kitchen. I have come up with quite a few recipes lately that my hubby asked me to make again… but I couldn’t remember exactly how I did it… so, again, he asked if I would pick up blogging so I could write it down. I put him off until I had a couple of people ask me for recipes of what I was posting… and now, here I am, posting some recipes I’ve made, and really want to become consistent again. Maybe I’ll even write a cookbook! That’s quite honestly a dream of mine! Either way, here is the recipe that my husband LOVED! I made it at the end of January with my Christmas gift, a Ninja Foodi!!!!! I LOVE my new Foodi…. LOVE. So versatile, and easy to use. I like that it is an air fryer, you can saute in it, broil, and pressure cook! I’ve made a few things in it, but this was the first meal I used it as an air fryer… and it turned out GREAT!

I did NOT take a lot of pictures when I was cooking, like I normally would… so the picture above is IT. I am also trying super hard to remember all of the ingredients that I used… bear with me, and let me know if you have any questions!! I got A LOT of my ingredients at Aldi.

Ingredients:

1 1lb bag of brussel sprouts (FYI, use them the SAME day you buy them, they go bad quickly.) (Also, got them at Aldi)
1 small bag of rainbow baby potatoes
1 zucchini
1/2 sweet yellow onion
1/2 turkey keilbasa
3 slices pre-cooked bacon
Pre-made (homemade if you can) Pesto
1 fried egg per person
Salt and Pepper – to taste
2-3 TB olive oil
1-2 tsp Mrs. Dash Garlic and Herb
Optional shaved parmesan for serving

This makes 4 servings

Directions:

Start by prepping the brussel sprouts. Dump the bag of brussel sprouts into a colander and wash WELL and dry them. Then, cut the stems off, and then slice the brussel sprouts in half, discarding the stems. Remove any browned or wilted looking leaves from each one and then set brussel sprouts aside in a large glass bowl. Microwave the pre-cooked bacon (or cook your bacon to your desired crispiness, crumble and set aside) for about 40 seconds, set aside. Cut your kielbasa into bite sized pieces and set aside. Dice your onion and add to the glass bowl. I sliced my zucchini into bite size pieces and then tossed them and the baby potatoes into the bowl as well (you can cut them into bite size pieces if you’d like, but I left them whole since they are already pretty small). Drizzle the olive oil over everything and toss to coat evenly. Sprinkle the seasonings and the salt and pepper and toss again so everything is evenly distributed. I placed my air fryer basket into the Ninja Foodi and then dumped the contents of the bowl directly into the Ninja Foodi basket. Close the air fryer lid, and set the temperature to 390, and the time to 15 minutes (You may have to add 5 minutes to this if you like it a bit more crispy). Open the lid and toss the contents about every 5 minutes. During the last five minutes add the kielbasa and toss, and close the lid to finish cooking.

While the air fryer is finishing up, put 1/2 TB butter in a pan and fry up a couple of eggs to put on top of your hash. Then, drizzle your pesto over the egg and hash, sprinkle bacon over top and SERVE! You can even top with a bit of shaved parmesan if you would like!
Let me know if you have any questions!