Roasted Vegetables – more filling than you’d think!

Do you like the smell of things baking in the oven? Do you like to eat the things baking in the oven? Do you ever wish something healthy could smell good, and then you could eat it without guilt or regret?? 😉 The other day, for lunch, I was not sure what to eat. I was needing something without any processed carbs, but not sure what to do. I knew I had a bunch of fresh vegetables and trying to think that to do with them. Then, I thought… why not oven roast them all together!!

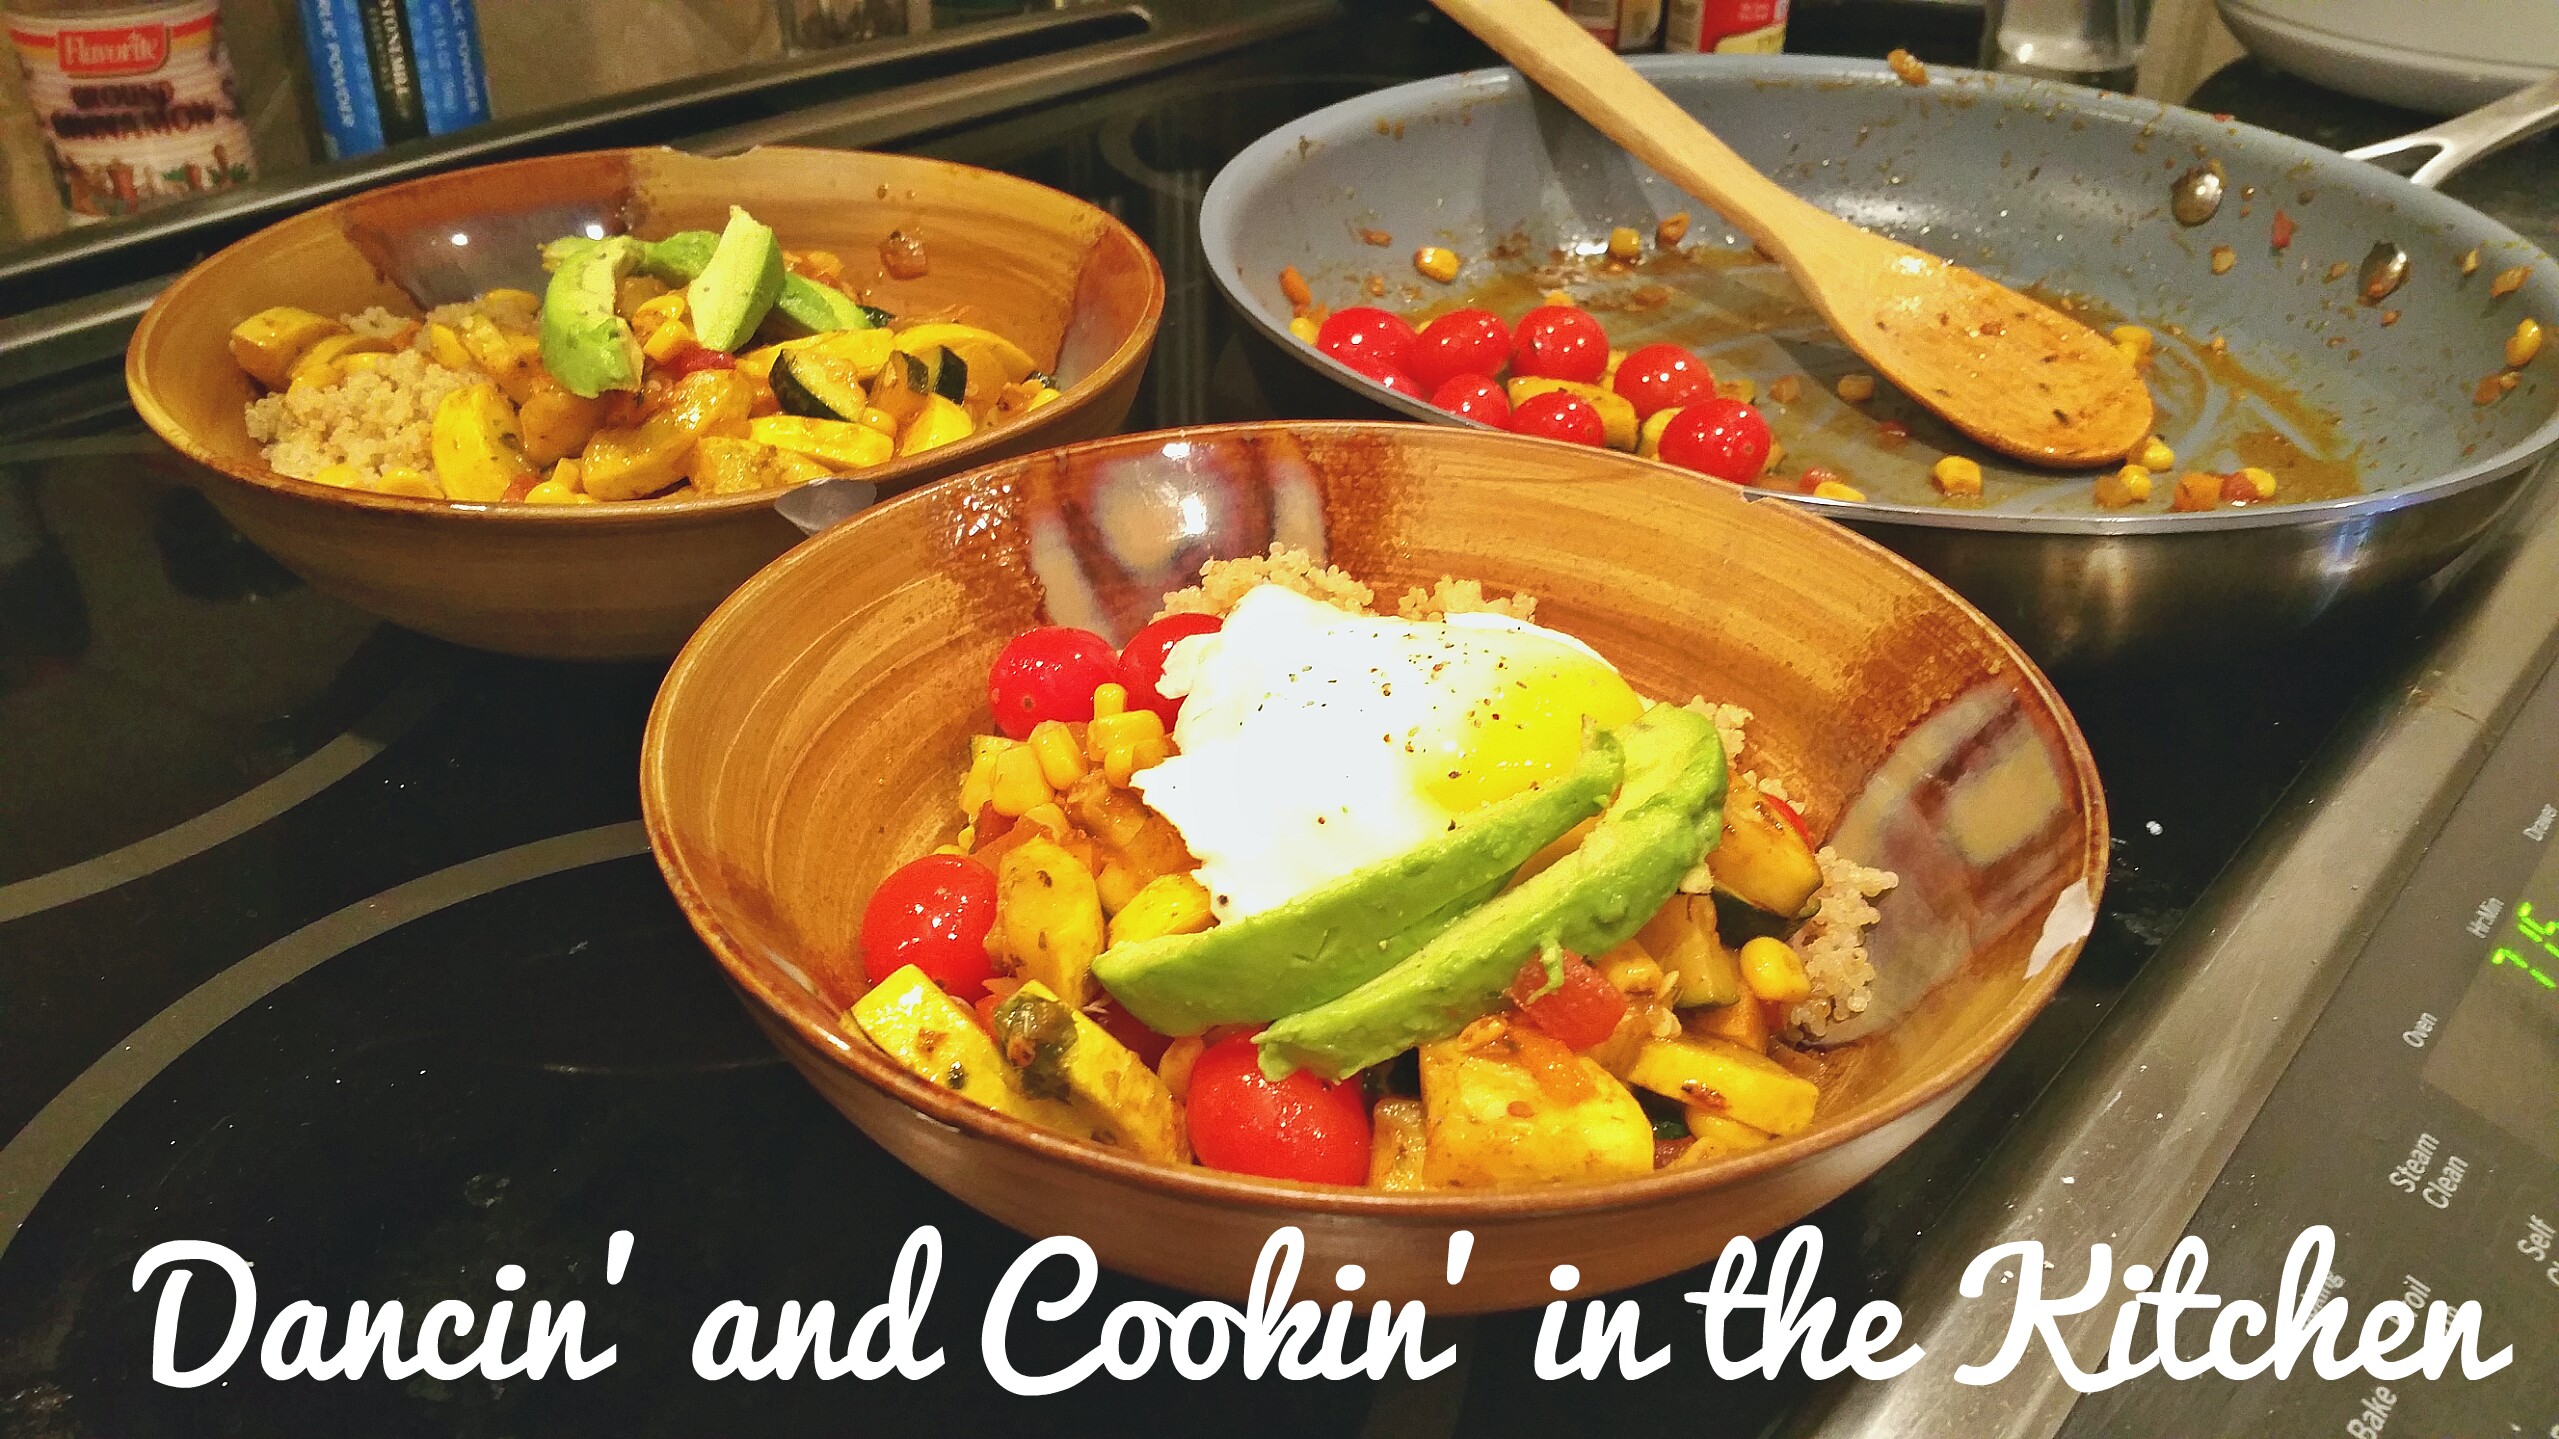
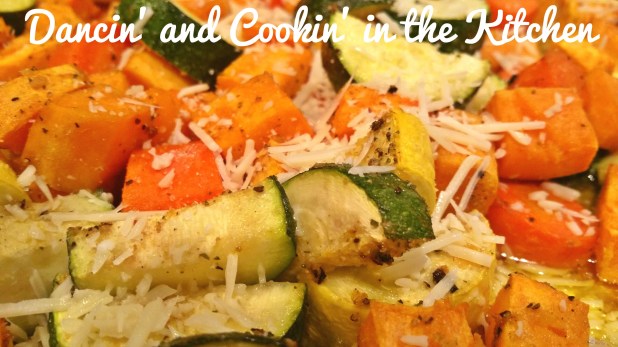
So, I did! I cut them all up, drizzled some stuff over top, sprinkled some seasonings and voila! DELISH! I had planned on eating something a long with it to fill me up, but actually found it completely unnecessary. It was so satisfying and filling! Now, I probably did have a pretty large serving, more than most would have if used as a side dish… but it’s vegetables! Can’t go wrong!

Try this one as a side dish, or a main dish, or roast ahead of time and take bits out for a snack during the day to munch on!!!

wpid-1428342287718.jpg

Makes 4 large servings or 6-8 small servings

Ingredients:

1 LARGE sweet potato – peeled and cut up into bite size pieces (about 1 inch pieces)
1 large zucchini cut into slices and then cut those in half
2-3 large carrots – peeled, rinsed and chopped
3-4 sweet mini peppers cut into large bit size pieces
1 large yellow summer squash sliced and then halved
2-3 TB extra virgin olive oil
3 TB butter (optional)
1/2 tsp garlic powder
2 tsp Mrs. Dash or Trader Joes 21 seasoning salute
pepper
2 TB parmesan cheese (grated or shredded)
salt to taste

wpid-1428342195897.jpg

Directions:

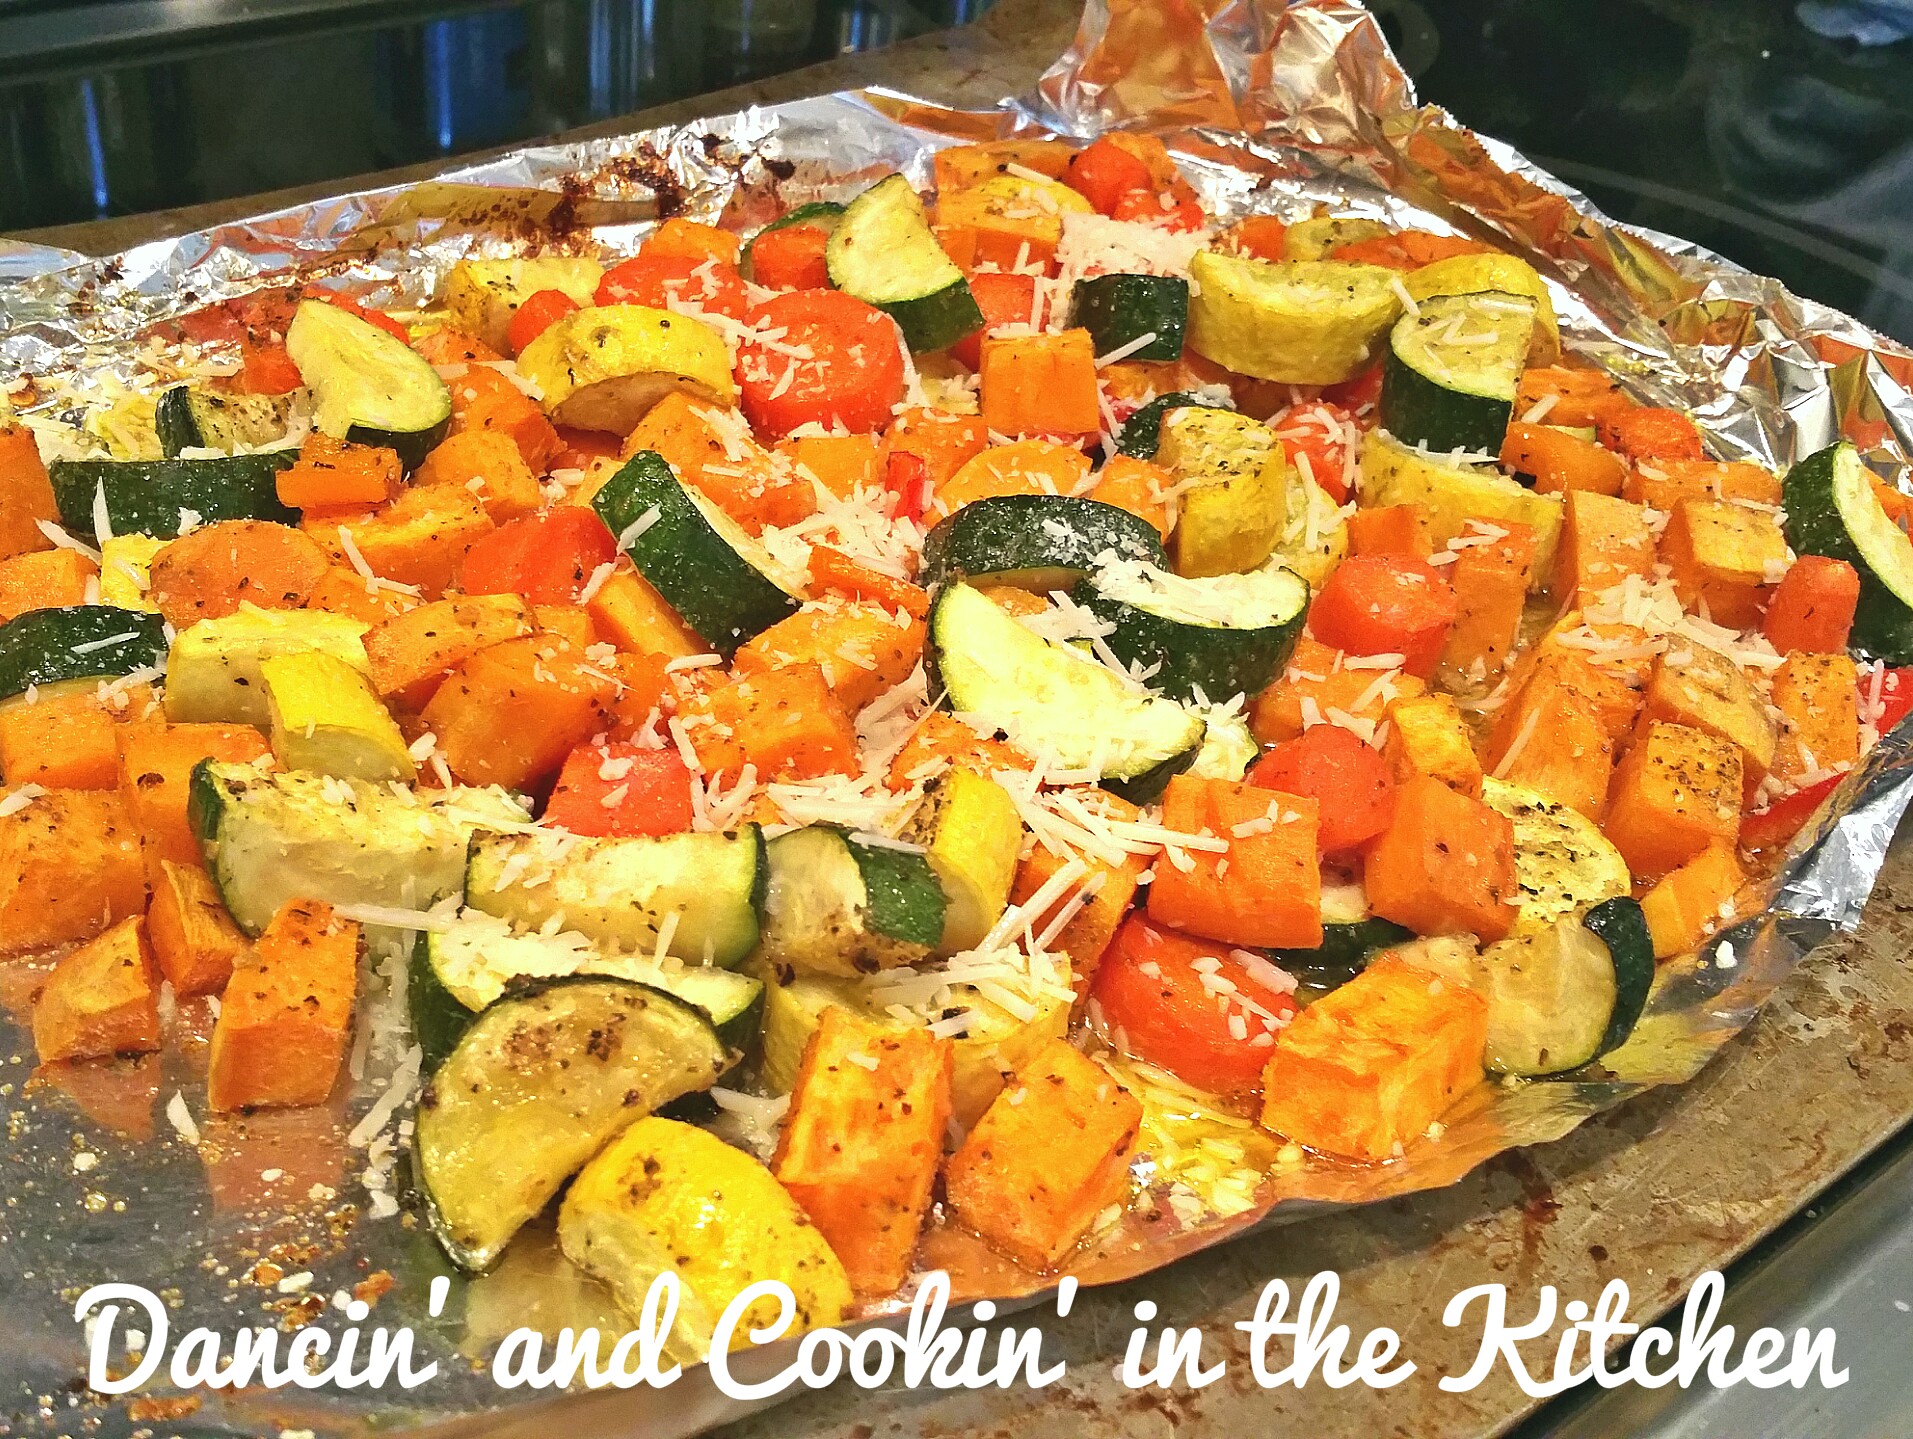
Pre-heat your oven to 400 degrees. Chop your veggies and put onto a foil lined baking sheet. Drizzle with olive oil and sprinkle with the seasonings and stir to coat evenly. Add bits of butter sporadically over the top of the veggies. Place into oven and bake for 20 minutes, and stir around. Place back into oven and bake for and additional 20 to 25 minutes until the potatoes and carrots are tender. Sprinkle cheese over top and serve! ENJOY!!!!

wpid-1428342339418.jpg

And now, for the quote of the day:

83e941526014bcf5d707224b30923895

Shrimp over Mashed Cauliflower – PFC, Paleo, Low-Carb!

There is always a bit of a fad for diets as the years go on. Low-carb does seem to stick around though. There is something to be said for cutting out bread and pasta and definitely seeing results. I love my carbs, definitely, but I do understand the benefits of decreasing the frequency of eating them! So, yesterday I decided to try something I have been nervous to do. Mashed Cauliflower instead of mashed potatoes or grits. Scary huh??!!! But you know what? They were good! I wouldn’t say I couldn’t tell they weren’t cauliflower. I mean, you can tell. But they are creamy, and satisfying! Definitely helps that carb craving! Delicious! Then, when paired with some cajun jumbo shrimp, who could ask for more??!! Protein, a bit of all natural whole fats, AND some “carbs” in the veggies! Perfect! This one is a quick and easy recipe too!

wpid-1428075565646.jpg

I’ll try my best to give ingredients and directions and what I used for each separate item.

Shrimp:
  1. 10 frozen jumbo shrimp, shelled and de-veined
  2. 3 tbsp extra virgin olive oil
  3. 1/2 tsp garlic powder
  4. splash white wine (optional)
  5. 1/2 tsp onion powder
  6. dash cayenne powder
  7. 1 tsp Emerils Bayou Blast
  8. Salt and Pepper to taste

Shrimp Directions:

Preheat oven to 350 degrees. Mix dry ingredients in a small glass Bowls or ramekin and set aside. Set frozen shrimp onto a foil lined cookie sheet that has lips on each side like : Cookie Pan

Drizzle Olive Oil over the shrimp and splash with white wine (if desired) and sprinkle the dry ingredients over top of the shrimp and toss a bit to get completely coated. Place into oven and bake for 12-16 minutes until white/pink and cooked through, no longer any transparent parts of the shrimp. Place onto a generous helping of the mashed cauliflower and top with some shredded cheese of your choice!

wpid-1428075451546.jpg

Mashed Cauliflower:

1/2 large head cauliflower
2 TB butter
1/4 cup grated Parmesan
1/2 teaspoon garlic powder
1 carton chicken broth (or water if you prefer – vegetarian)
1/4 cup whole fat Greek Yogurt (PLAIN!!!!)
Salt and Pepper to taste

Directions:

Set a stockpot of chicken broth (or water) to boil over high heat.

Clean and cut cauliflower into small pieces. Cook in boiling water for about 6-10 minutes, or until well done. Drain well. Immediately after, transfer to a large Glass Bowl or plastic bowl.

In a bowl with an hand mixer or in a food processor, puree the hot cauliflower with the butter, greek yogurt, Parmesan, garlic powder, salt and pepper until almost smooth. Then stir with Spatula.

Set aside and keep warm.

wpid-1428075677869.jpg

Quickly, for the spinach… if you so desire… it’s just wilted spinach. You toss a LARGE handful of spinach into a skillet with a TB of butter, salt and pepper and a bit of hot sauce… sautee until the softness that you desire…or wiltyness?? 🙂 I just created a word… right? Or not. Whatever.

Oh, and if you wonder what dishes I use… they  are hard to find! My husband and I got them for a wedding gift… but here’s a link just in case you are interested! http://www.overstock.com/Home-Garden/Sango-Splash-16-piece-Dinnerware-Set/4012688/product.html

And now, for the quote of the day:

0f8a4731fc7afda0911d39518c58c471

Creamy-Cheesy-Spicy Hearty One Pot Pasta

Do you want something creamy, and yet with a kick of heat at the same time? Something cheesy that still makes you sweat?! Who doesn’t!???? Right?
This dish is IT! And, it’s filling and yummy. Like, real yummy. (You’d never know I was an English major in college would you? I’m not going to discuss how long it’s been.)

This dish takes 20 to 25 minutes to complete, and only 1 pot dirtied! So, if you get home late, pop it in the pan with almost all of the ingredients, simmer… finish and serve! Love these types of dinners!

wpid-1427934264282.jpg

Creamy-Cheesy-Spicy Hearty One Pot Pasta

Ingredients

  • 1 Tbsp Olive Oil
  • 1/2 Turkey Kielbasa cut up
  • 1/4 tsp onion powder
  • 1/2 tsp garlic powder
  • 1/2 tsp dried oregano
  • 2 1/2 cups chicken broth
  • 1 (10 oz) can fire roasted diced tomatoes with green chilis
  • 1/2 cup half&half
  • 8 oz dry pasta (I used whole grain spaghetti, you can use whatever)
  • 1/2 teaspoon salt and pepper, each
  • 1/2 cup fresh mozzarella cheese cut into small cubes
  • 1 cup fresh baby spinach chopped
  • garnish with parmesan cheese and a bit more spinach (chopped)

wpid-1427934339853.jpg

wpid-1427934403755.jpg

Instructions

  1. Add Olive Oil to a 4-5 quart saute pan over medium high heat. Add sausage and cook until lightly browned. Add garlic powder and onion powder and cook for about 30 seconds.
  2. Add chicken broth, tomatoes, pasta, and seasonings. Bring the mixture to a boil, cover, and reduce heat to low. Simmer for about 15 minutes, or until pasta is tender.
  3. Turn off the heat and stir in 1/2 cup of cheese, and half&half. Sprinkle spinach in and let wilt.
  4. Garnish with parmesan cheese, and a bit of extra spinach.
  5. Makes about 4 servings. YUM!

And, my favorite things to cook and stir with, that also makes sure that I don’t scratch my awesome pans are:

* Ioven 8.5 inch Silicone Spatula Set of 4

* Totally Bamboo 5-Piece Utensil Set

wpid-1427934476316.jpgAnd now, for the quote of the day:

68862c0186259549b50f179b218fbf9e

No Meat Lentil Chili

My husband called me last night and asked the million dollar question: “What’s for dinner”? Hahahahaha… yesterday was grocery shopping day, and I had NOT gone grocery shopping yet. Plus side? I still had 1 meal left from my meal plan that I had not yet made… LENTIL CHILI!!! I told me husband as much, and his response was actually less than excited… can you imagine?! HA! J/K. I knew he was going to be a bit hesitant when he heard the word “lentil”. You think of anything but chili when you hear the word lentil.

I didn’t want to thaw my last pound of ground beef, I was saving that to make meatballs for my littles today, and I didn’t want to use it in chili if I didn’t have to. So… lentil chili it is! And you know what? We LOVED it!! My husband cleaned out his bowl and went back for seconds! And, if you change a few of my ingredients, you can make a vegetarian version for sure!!! This was a winner, don’t be scared off  by the word lentil, even your kids would like it! Just wait until after they are done to tell them it was meat free deliciousness!

image

INGREDIENTS
  • 2 Tbsp. Extra Virgin Olive Oil
  • 1/2 medium sweet yellow onion, chopped
  • 3-4 mini sweet peppers (multi-colors), chopped
  • 1 tsp Minced Garlic
  • 3 tsp. Chili Powder
  • 1/2 tsp ground cumin
  • 1/2 tsp onion powder
  • Dash cayenne pepper
  • 2 TB Cornmeal mixed with 1/4 cup water to thicken chili
  • 1/2 cup to 1 cup frozen whole kernel corn (or fresh)
  • 1 can Organic Black Beans (rinsed)
  • 1 1/2 cups rinsed brown Lentils
  • 1 28 oz. can Fire Roasted Crushed Tomato
  • 1 bay leaf
  • 1 1/2 cartons (48 oz) Organic Low-sodium chicken Broth(use vegetable broth to go for the Vegetarian Option)
  • â…“ cup fresh chopped cilantro
  • sea salt and fresh ground black pepper
  • Optional toppings: sour cream, cheddar cheese, croutons, tortilla chips, avocado
  • salt and pepper to taste

wpid-1427804186251.jpg

INSTRUCTIONS
  1. In a large soup pot, heat olive oil over medium heat. Add onion and chopped peppers; saute the vegetables for 8 minutes or until onion is soft and lightly browned.
  2. Stir in garlic, cumin, cayenne, black beans and chili powder; cook for 1 minute.
  3. Add lentils, tomatoes, bay leaf and chicken broth (or veggie broth). Bring to a boil, lower the heat to medium-low and simmer partially covered for 30 minutes or until lentils are tender. Add the water and cornmeal mixture and let simmer for 5 minutes to thicken.
  4. Remove from the heat and discard the bay leaf.
  5. Add salt and pepper to taste.
  6. Stir in cilantro and serve.

Top with: more cilantro, cheese, sour cream, avocado pieces, etc!!! ENJOY, you seriously will!!

wpid-1427804281777.jpg

And now, for the quote of the day:

52ca6698ca858da37836b0c4ed916ed7

Chicken Wrap

I had a meal plan. That plan went out the window tonight. Do you ever do that? Just don’t feel like cooking/doing/eating whatever you planned? Not sure if it was my dog barking at random noises, my son whining at my feet, or my daughter asking to go down to the lake nature trail for the 50th time in 5 minutes, but my energy was suddenly drained. I quickly made the tiny minions , that I made, and adore… their dinner and sat down to figure out what on earth actually sounded good. When I made my meal plan it was cold and rainy outside. I have 2 weeks worth of meals to choose from and they all look “bleh”… so what’s a girl gonna do? My husband was on his way home from work. Granted it takes him 45 minutes to get home… but still!
I hop on pinterest, duh, and find out all about this new Mediterranean Diet. Which of course leads me to travel ideas, which leads me to beach pictures, which leads me to memes and funny pictures of cats. Suddenly my husband’s home, and I haven’t cooked a thing! Darn endless scroll on pinterest! Hehe! So, chicken wraps it was! And you know what? They were good! 🙂

image

Ingredients

This is for 2 servings

4 chicken tenderloins
1 TB butter
1 TB olive oil
1/2 tsp garlic powder
1/2 tsp oregano
Salt and pepper
1/2 tsp dried thyme
1/4 cup vinegarette  (I used my leftovers from a previous recipe… you can use any Italian dressing or vinegarette)
1/2 cup baby spinach
2 TB parmesan
Tortillas (flour or whole wheat )
Toppings:
Greek yogurt, sour cream, avocado slices, spinach or lettuce, hummus, Lindsay Naturals Black Ripe Pitted Olives
, tomatoes and or mustard.

image

Sautee the chicken in a skillet with the oil, and or butter and seasonings until almost done. Add half of the salad dressing and let simmer. 5-8 min until no pink is left and shred it with 2 forks. Top with either shredded cheese or parmesan and then place onto the tortillas. Top as you’d like!

image

And now, for the quote of the day: saw this random picture… yes, on pinterest, and had to post it!

image

Chicken Quinoa Enchilada Crockpot Meal

This is an incredibly easy dish that everyone in the family will love! It’s easy and makes your whole home smell delicious as it cooks throughout the day! Cheesy, warm and filling, packed full of protein!
Crockpot meals aren’t just for the winter! You can definitely make good use of the trusty Crockpot during the spring and summer as well! You can use it to make tender meat for a taco, or  a filling enchilada dish like this one so you don’t have to heat up your kitchen when you turn your oven on!
Definitely toss this in your Crock-Pot and give it a try! The leftovers were even amazing!

image

Chicken and Quinoa Enchilada Crockpot Meal

INGREDIENTS

1 15-ounce can black beans, drained and rinsed
3/4 cup frozen or fresh whole kernel corn
2 cups homemade enchilada sauce (recipe follows)
1 15-ounce can of Organic Diced Tomatoes, Fire Roasted with Medium Green Chilies

1/2 tsp garlic powder
6 chicken tenderloins
Handful of grape tomatoes
1 cup un-cooked White Quinoa
+ ½ cup water
salt and pepper to taste (I used about 1 teaspoon salt and ¼ teaspoon black pepper)
1 cup shredded Mexican style cheese
optional: chopped cilantro, diced tomatoes, diced avocado, sour cream and a but of lime squeezed over top

Enchilada Sauce

1 1/2 TB oil (I used olive oil)
1 TB chili powder
2 cups chicken broth
6 oz. Tomato paste (1 small can)
1/2 tsp oregano
1/2 tsp cumin
Salt and pepper

Stir together until well blended (with small wisk if you have one) and pour over other ingredients listed above.

image

INSTRUCTIONS

Add beans, corn, chicken tenderloins (mine were frozen), 1/2 of homemade enchilada sauce, diced tomatoes and chiles, quinoa, water, garlic powder, and salt and pepper to the greased slow cooker. Stir everything together.
Pour remaining can of enchilada sauce on top, then sprinkle with shredded cheese. Cover and cook 4-5 hours on high or 5-7 hours on low.
Uncover, top with tomatoes, avocados, sour cream, and chopped cilantro and serve.

image

And now for the quote of the day:
I’ve got glitter growing outta my head! 😉

image

Quick and Easy Skillet Cabbage with Kielbasa

Sunday night and I need a quick dinner that’s filling, but won’t make me regret it the next morning. When you think Sunday dinner, what do you normally think? I usually think Chinese takeout, pizza, popcorn, oh… the list of easy options where I don’t cook could go on for quite a while! But tonight, I am remembering that I am in a fitness challenge group, and that I will be posting a picture of what I am eating. This, in turn, helps me to keep accountable to eating healthier! So… Cabbage and turkey kielbasa it is!

image

Ingredients

2 TB butter or margarine
1 small head of cabbage, chopped
1/2 small sweet onion, chopped
1 pound smoked sausage, sliced (I use all natural and nitrite/nitrate free turkey kilebasa)
4 TB olive oil for sauteing
Juice of 1 lemon (1/4 cup or so) plus zest
1/2 tsp minced garlic
1/2 teaspoon salt
1/2 teaspoon pepper
Dash (or more if you’d like!) Hot sauce

image

Directions

Heat olive oil in the skillet on medium heat. Place chopped cabbage into the skillet. Add onion and garlic. Sautee until cabbage starts to get slightly more tender (about 3-5 minutes). Add lemon juice, zest and butter and sausage. Stir until cabbage is soft, bit still has a bit if crunch (unless you like it softer). Season with salt and pepper to taste  Serve with hot sauce or a bit of cheese if you’d like. It’s good as a main dish and also as a side dish! Quite filling too! Give this one a try if you want something to make with ingredients you most likely already have in your fridge and have no clue what to make! Isn’t that how great recipe are made?!

image

Enjoy!

And now, for the quote of the day:

image

Quick Shrimp and Avocado Salad

I needed a quick dinner… something using fresh foods, and low in carbs. Something yummy but also filling, and this salad definitely did the trick! I LOVED it! The natural fats in the avocado and the high protein in the shrimp were exactly what I needed! So fresh and yummy! If you want a nice salad to go with dinner, a quick lunch with leftover shrimp, or even something to put on a hoagie roll, this is it! Try this salad out!

This is for the dressing and the salad.
Also… I usually use this cute little wish when I’m making salad dressing:

image

Cute huh? It fits easily into bowls and measuring cups, or whatever I need to fit it into to mix something. Perfect size for little jobs. 🙂

image

INGREDIENTS

1 lb. Baked shrimp, peeled and deveined
1 avocado, cut into large pieces
1/2 sweet onion chopped
1/2 cup sweet white corn (thawed frozen or fresh)
1/2 to 1 English cucumber sliced and quartered
Optional handful of grape tomatoes

For the Dressing

¼ cup extra virgin olive oil
¼ cup fresh squeezed lemon juice
1 tsp lemon zest
Dash white balsamic vinegar
½ teaspoon garlic powder
1 teaspoon parsley, chopped
1 teaspoon spicy brown mustard
salt and pepper, to taste
Dash hot sauce

image

INSTRUCTIONS

Bake shrimp for 12 min at 350 with a drizzle of olive oil and salt and pepper. Remove, set aside. After cooled (10 min), either leave whole, or chop into bite size pieces.
Add shrimp, avocado, and onion, corn, cucumber and tomatoes to a large bowl.
In a 2-cup measuring cup, mix together ingredients for the dressing. Whisk until well-combined.
Add dressing to shrimp avocado salad until it has the amount you desire. Top with a bit of parmesan cheese if you’d like!
Serve additional dressing on the side. I put leftover dressings in washed glass jelly jars and save it for up to a week in the fridge.
And now, for the quote of the day:

image

Tomato Paste… in a tube! (And other quick tips)

Ok, so in a few of my recipes, and recipes that I’ve seen, it will call for a tablespoon or two of tomato paste. Then you’re usually left with a dilemma… what do you do with the rest of the tomato paste? Put it in the fridge usually. Then, you have to make sure you use it within 5-7 days or it starts to mold! Then, you’ve wasted food and money! I do not like do not like doing either of those! So, my tip for this is something that I saw on “The Chew” talk show, and then FOUND at Trader Joe’s (only one of my favorite stores EVER!)

image

It’s in a reclosable tube! What?! Am I Right?! How exciting is this? Now, those of you who are chefs are probably thinking, “um, that’s been around forever”… but this is new to me and I’m ecstatic! This is gonna be great!
Also, did you know they have tubes of fresh herbs? They do! Basil, cilantro, parsley, etc. So, if you need a couple of months to use up herbs in things like guacamole and pasta,  try those! They are still fresh and taste fresh, but last so much longer! Sometimes my herbs are bad within 5 days!
Remember my tip about onions! Slice them, put them in a freezer bag and freeze the leftovers!
Canned condensed soups… don’t use them if you don’t have to! It’s soooo easy to make a creamy base! Butter, flour, milk or cream… and then chicken or veggie broth! Seriously! That’s it! I keep all of those in my pantry or fridge at all times! Then you just add mushrooms or chicken or whatever base you want! I’ll make it soon to post on the blog. Then, you have a natural and organic food base that you know where it all came from! Chicken broth is easy to make too! After Thanksgiving I make Turkey broth and saved it in glass jars in the freezer! I made some awesome soups with it!
Any questions or tips you want to know about? Ask! Send me an email or ask a question in the comments and I’ll do my best to respond and even possibly make a post out of it!

Good luck cookin’!

Whole Grain Southwest Quinoa Bowl with a Fried Egg!

So I feel like I’ve been putting on here that I’m TIRED a lot lately.  Guess what?! Today, I’m NOT! Woohoo! We actually had a great day! I would attribute it to spending a majority of our day outside. We did school EARLY and then just spent the rest of the time outside (except for during naptime). We even had some dog training for our dog Duke, outside! It was quite marvelous! It’s so nice that it’s not yet a sauna outside, so we can still enjoy it! And, I straightened my curly hair for one possible last hurrah! Because, once it turns to a sauna outside, my curly hair returns within minutes of stepping outside! HA!

A couple of things about today’s recipe.

1. I use sweet mini-peppers a lot. I use them because I like the different colors in 1 bag. I also like that I don’t have to cut open a full bell pepper and then try to save it and hope that it doesn’t dry out. So, I like the sweet mini peppers as snacks, and the fact that I can grab a few to put in my dishes without worrying about part of them drying out! They stay fresh for a long time too!
2. When I only use 1/2 an onion, I DO NOT put the other half back in the fridge. I was recently informed that they absorb sickness and germs and bad things… and can actually make you sick if you do that! I RARELY use an entire onion when I cook something. I like onions, but I don’t want an overload. So, I slice the rest of them, put them in a freezer baggie and put them in the freezer. That way, they stay fresh and I can grab just the amount that I want to put in each dish and they stay FRESH!!!!
3. I almost always use the rice cooker for quinoa and rice. It’s sooo much easier! Very “mindless” which is perfect when I’m doing so much other stuff to prep, etc. Set it and forget it!

And now, the recipe!

1426723324246


Ingredients
for 3-4 servings:
  • 1/2 cup of quinoa
  • 1 cups of water
  • 1 tsp flax meal (if you have and so desire)
  • 2 tablespoons of olive oil
  • 1 teaspoon of salt
  • ½ teaspoon of cracked pepper
  • 1 zucchini, diced
  • 1 yellow squash, diced
  • 3-4 mini sweet peppers diced
  • 1 1/2 cups whole kernel sweet corn (frozen, fresh or canned)
  • ½ yellow onion, diced (about 1/2 cup)
  • handful of grape tomatoes
  • 1/2 tsp chili powder
  • dash cayenne powder
  • 1/4 tsp cumin
  • ½ teaspoon of smoked paprika
  • 1/2 tsp oregano
  • 1/2 cup fire roasted diced tomatoes with green chilis (like rotel) from the can
  • 1 tablespoon of fresh lime juice
  • 4 eggs, fried/over easy (1 egg per serving)
  • 2 avocado, sliced
  • fresh cilantro (garnish)
  • fresh lime zest and juice of 1 lime to top
  • sour cream or shredded cheddar if desired for topping

1426723221444

Instructions
  1. Put olive oil in a non-stick skillet
  2. Start quinoa in the rice cooker, or on stove top – following directions on bag (RINSE QUINOA)
  3. Cut up vegetables
  4. Place squash, zucchini, minni peppers, onion, tomatoes, corn, salt, and pepper into the skillet. Toss to coat.
  5. Season with the dry spices (paprika, cayenne, chili powder, cumin, oregano and lime zest). Add the 1/2 cup of Rotel or similar.
  6. Sautee veggies in sauce pan until the zucchini is tender, but still firm. Squeeze lime juice over vegetables just before you server.
  7. Fluff quinoa with a fork and serve with the vegetables.
  8. Pan fry four eggs
  9. Serve egg on top of quinoa with avocado slices and fresh cilantro. Also, try shredded cheese or sour cream!

1426723417613

This one was filling, healthy, and one that you don’t feel guilty after eating! You got your protein, your whole grains AND your veggies! Definitely give this one a try!

And now, for the quote of the day: 🙂

87f9bdf41a984b6a8b90c40abc2c926f