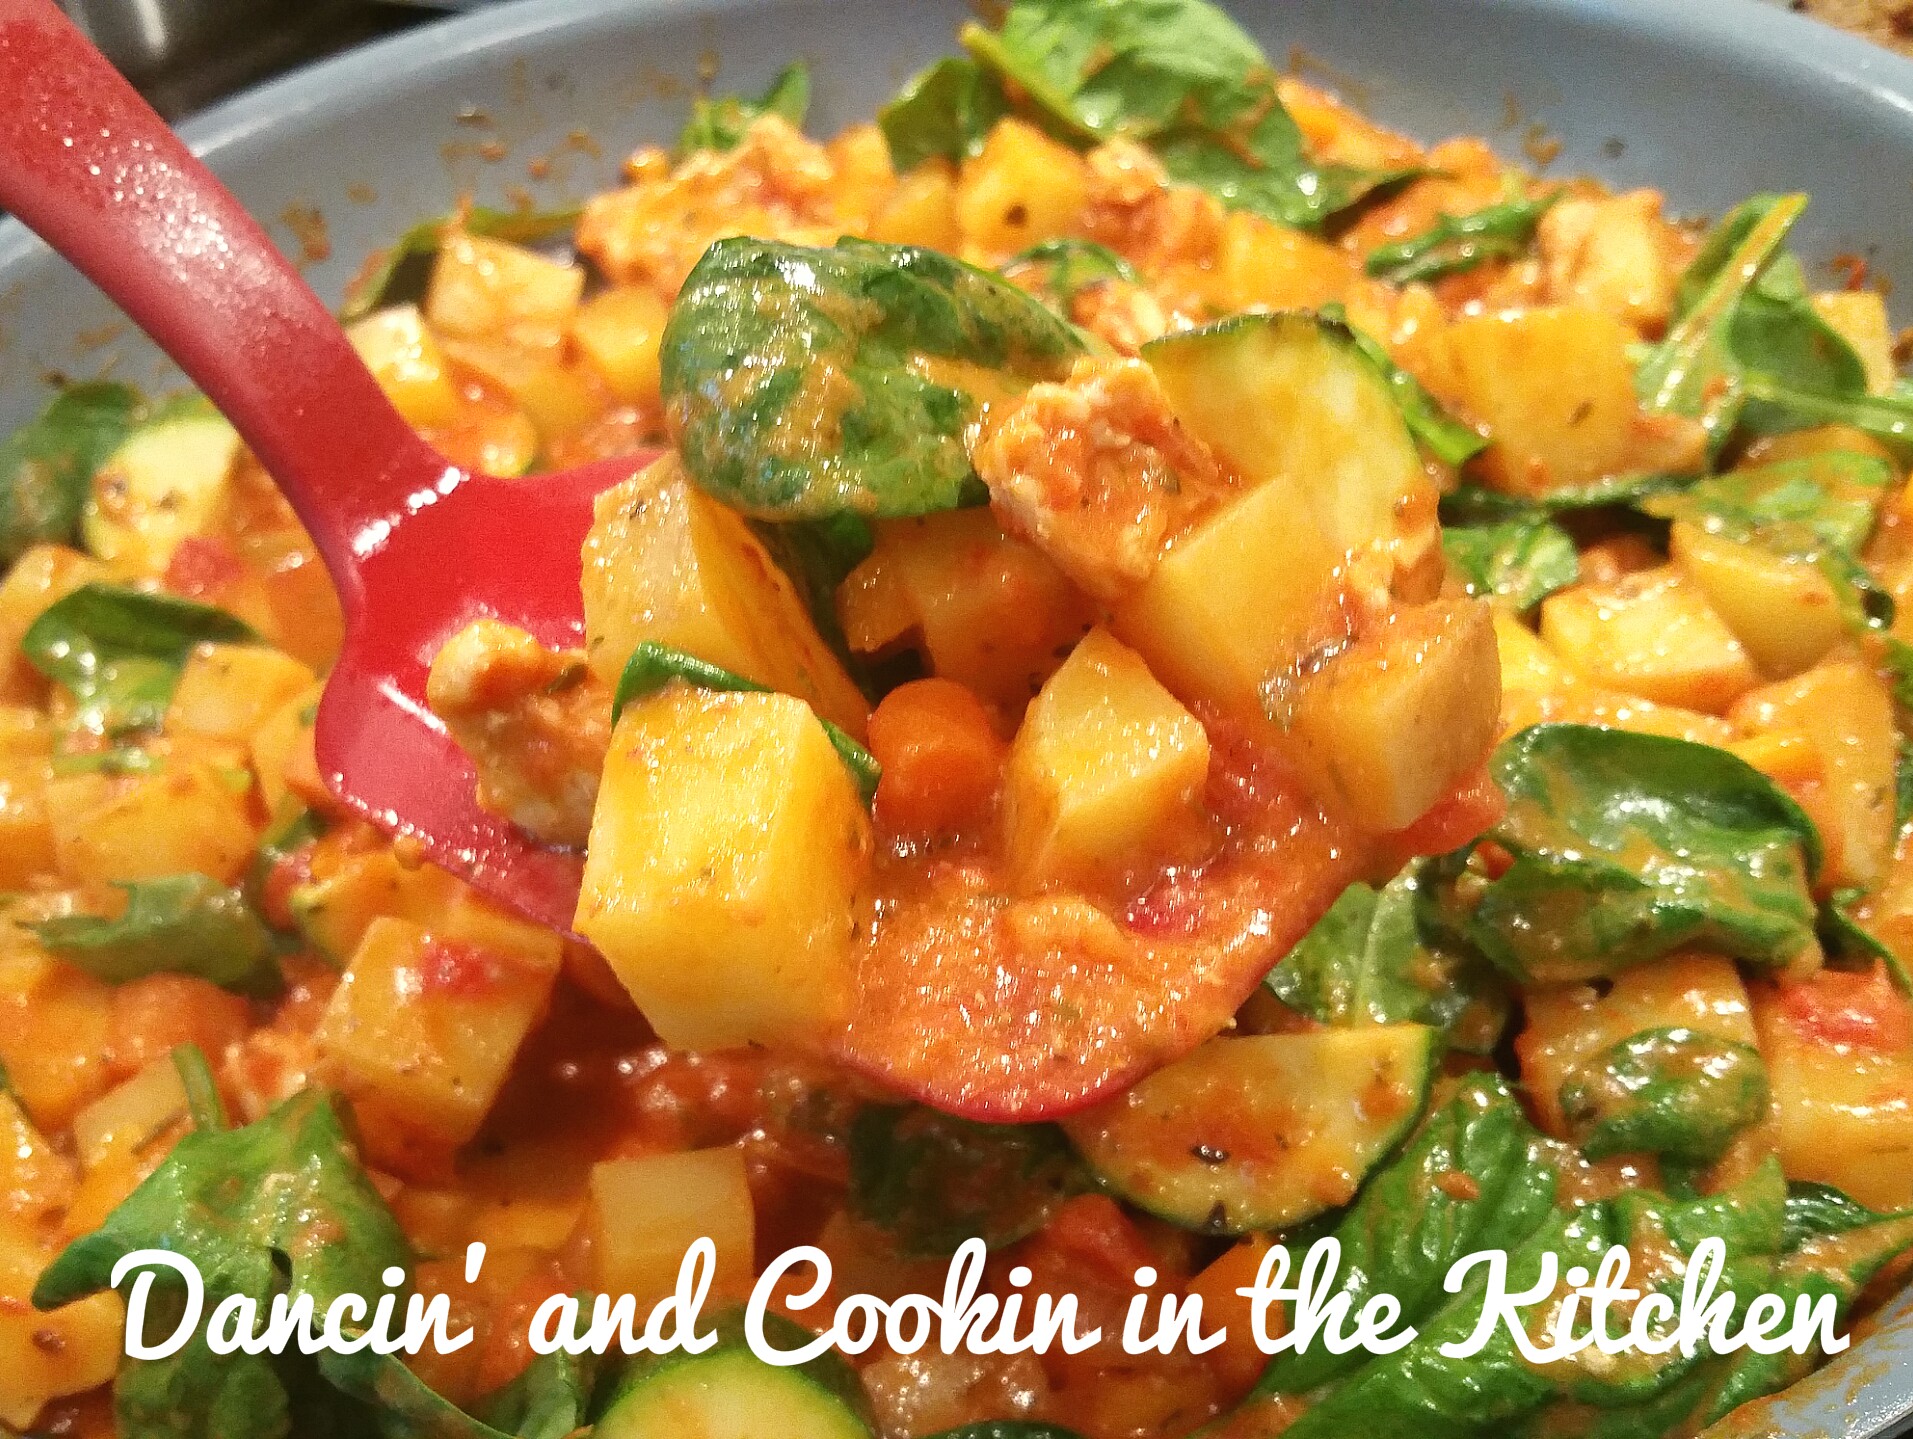

It’s January… we are all still working on our New Year’s Resolutions I’m sure. I am continuing mine! The hubby and I are planning an anniversary cruise in the fall, and I do NOT want to be embarrassed when I put on that bathing suit. So… toning up, working out, and CLEAN eating is to be had! A lot of gluten free, low carb (except weekends), less eating out etc etc etc. You know the drill.
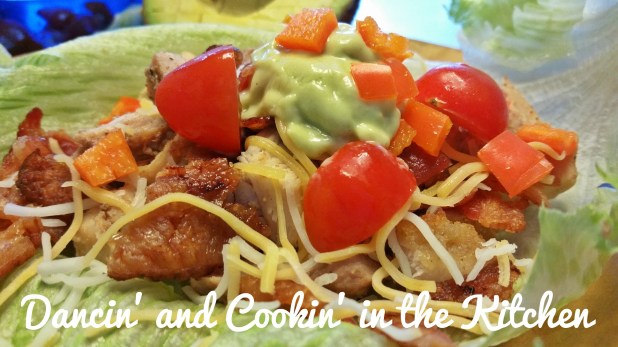
This recipe… mmmmmm!!!!!!!!!! DE-LISH! It’s filling, and takes care of that craving for nachos, and junk food… while being filling and full of protein and good fats! It’s a little bit on the “cheat” side with the bacon… but don’t skip it! It adds that perfect flavor!
- 3 frozen chicken breasts (I used Trader Joes… my FAVORITE!)
- 1½ cups cheddar cheese
- salt and pepper to taste
- 1/2 teaspoon smoked paprika
- 1 teaspoon chili powder
- 1/2 teaspoon cumin
- ½ teaspoon cayenne pepper
- OPTIONAL red pepper flakes
- 1/2 tsp garlic powder
- 1/2 tsp onion powder
- 1/2 half small onion diced
- 1 TB olive oil
- 1 TB butter (for extra flavor, but NOT necessary)
- 1 large jalapeno,
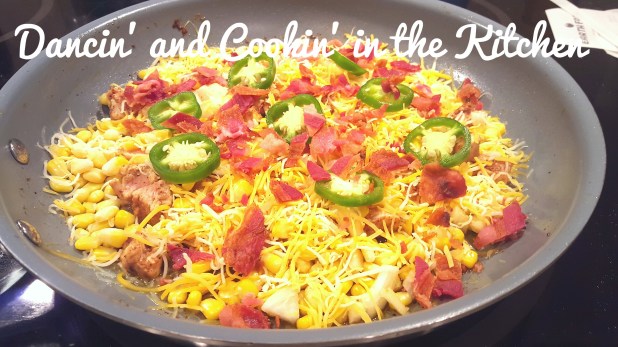
- 3/4 cup frozen corn
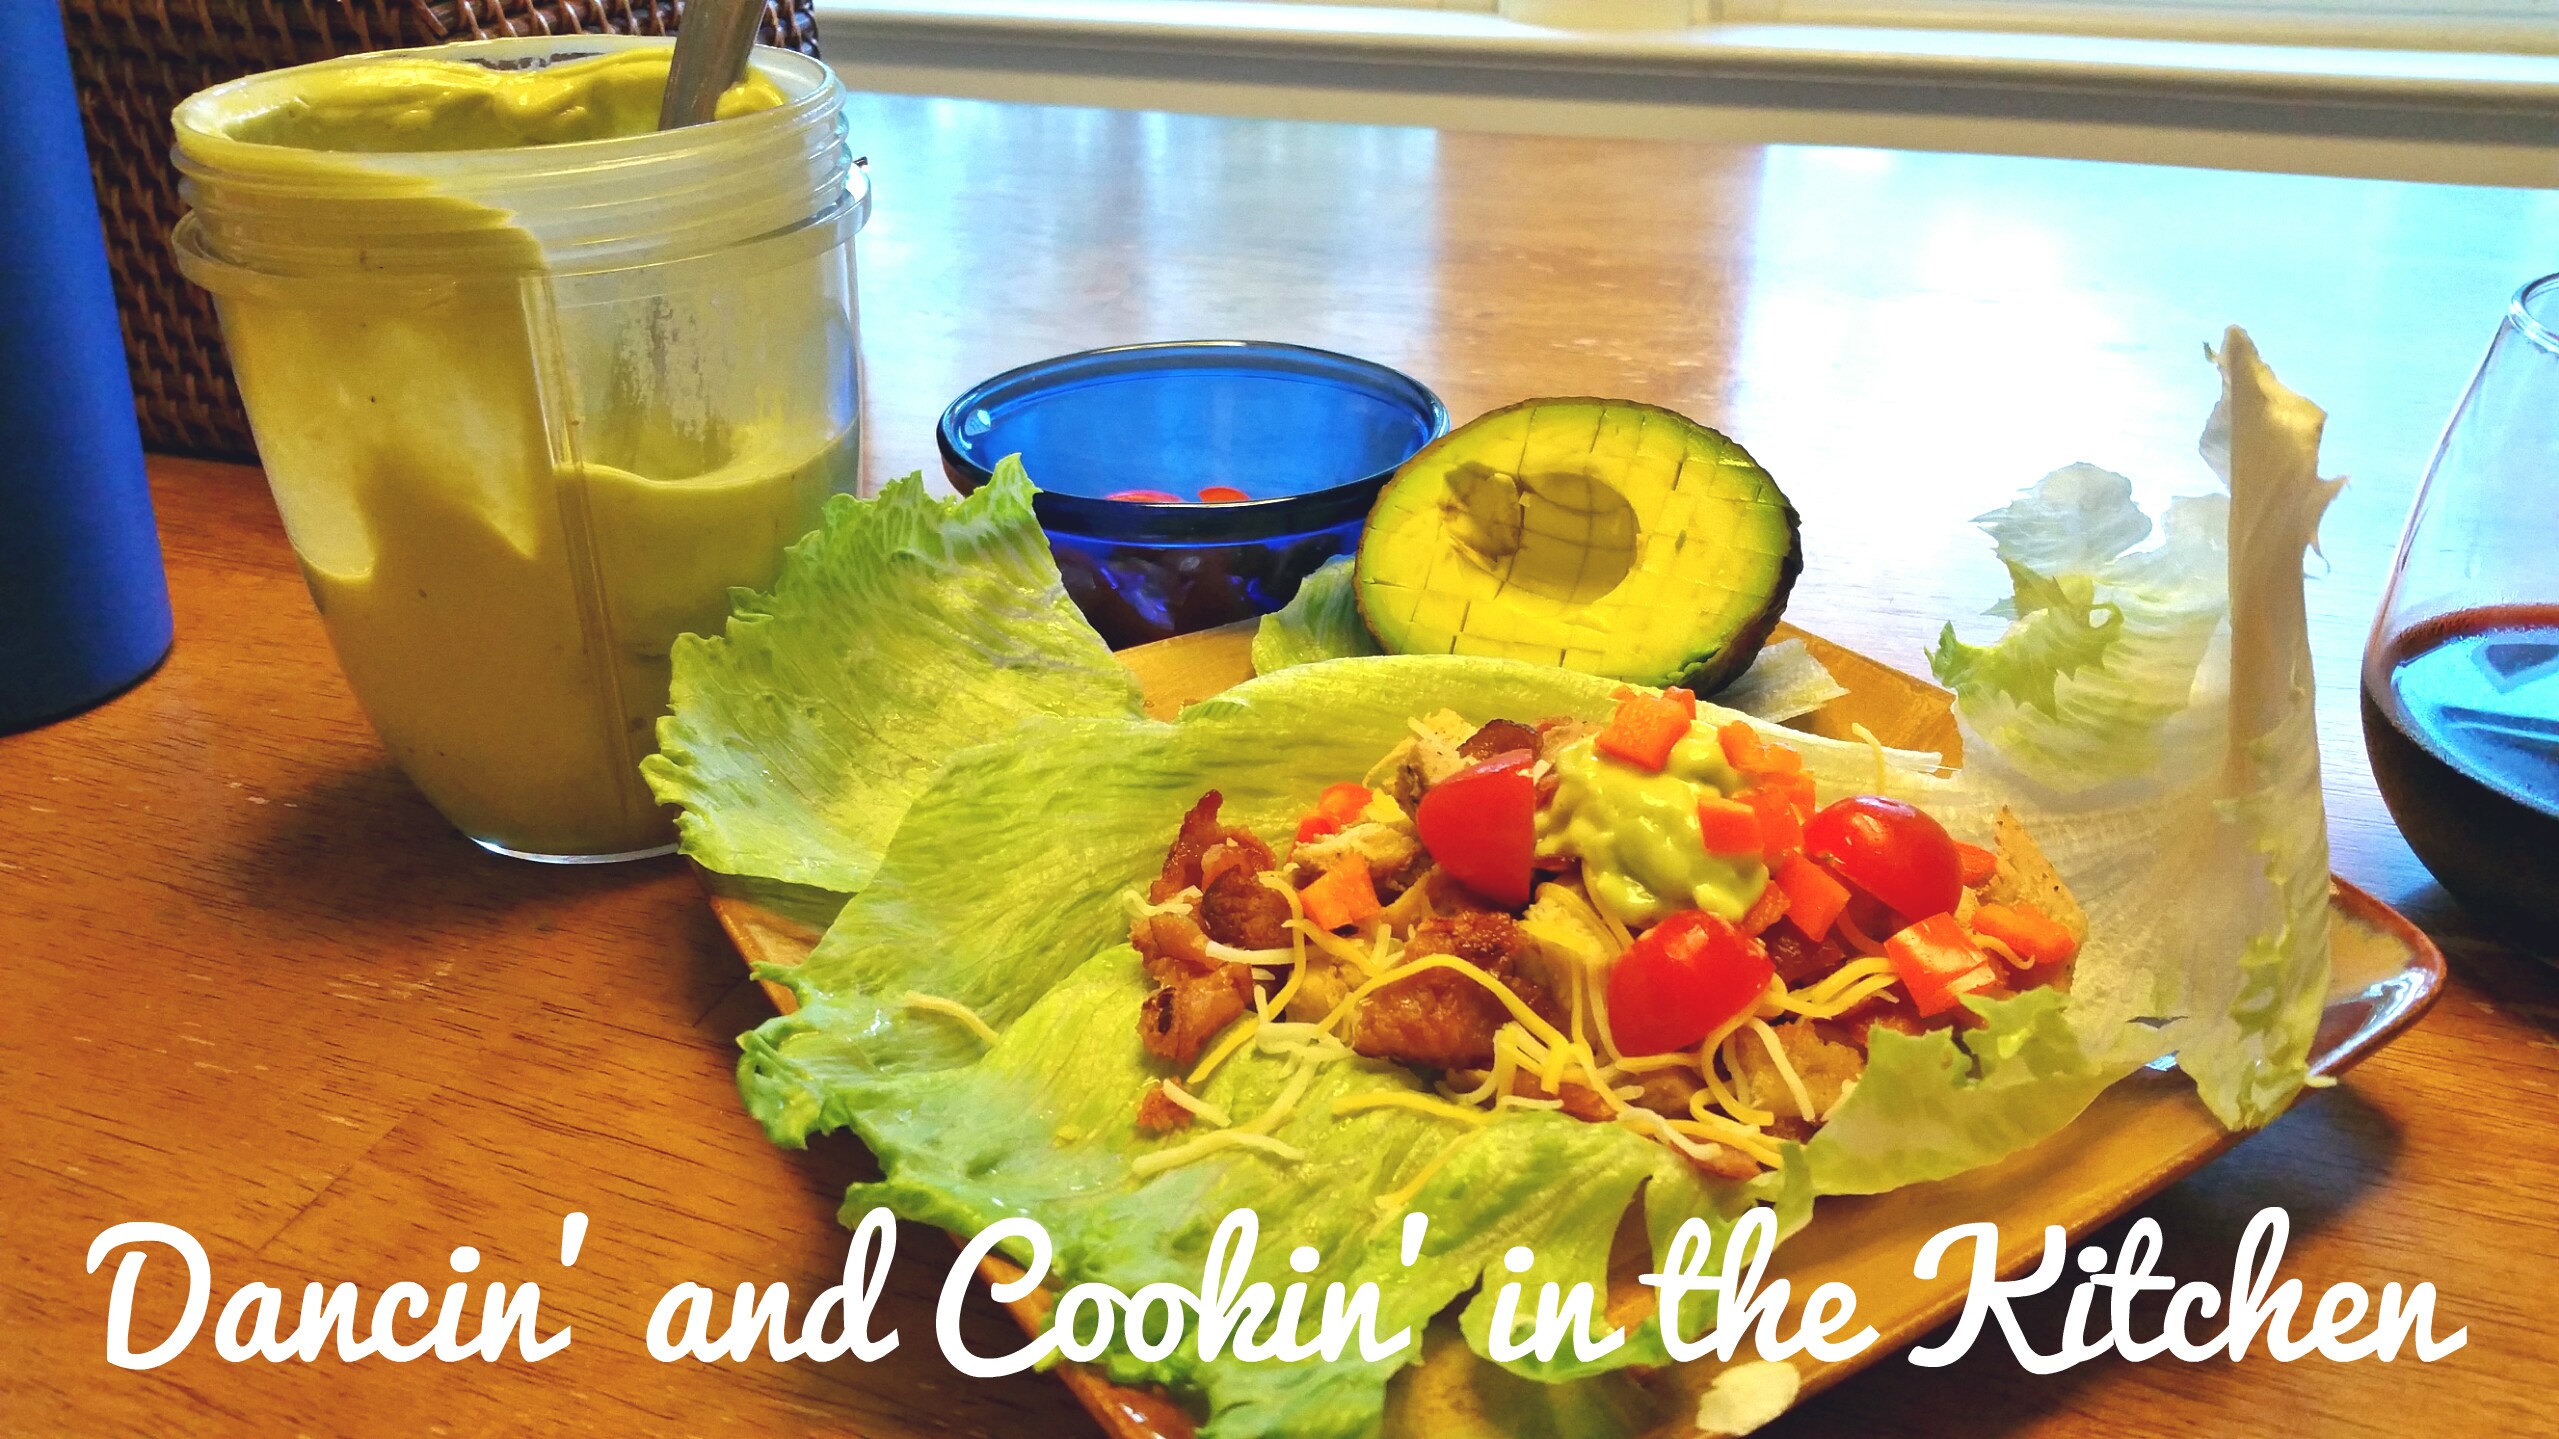
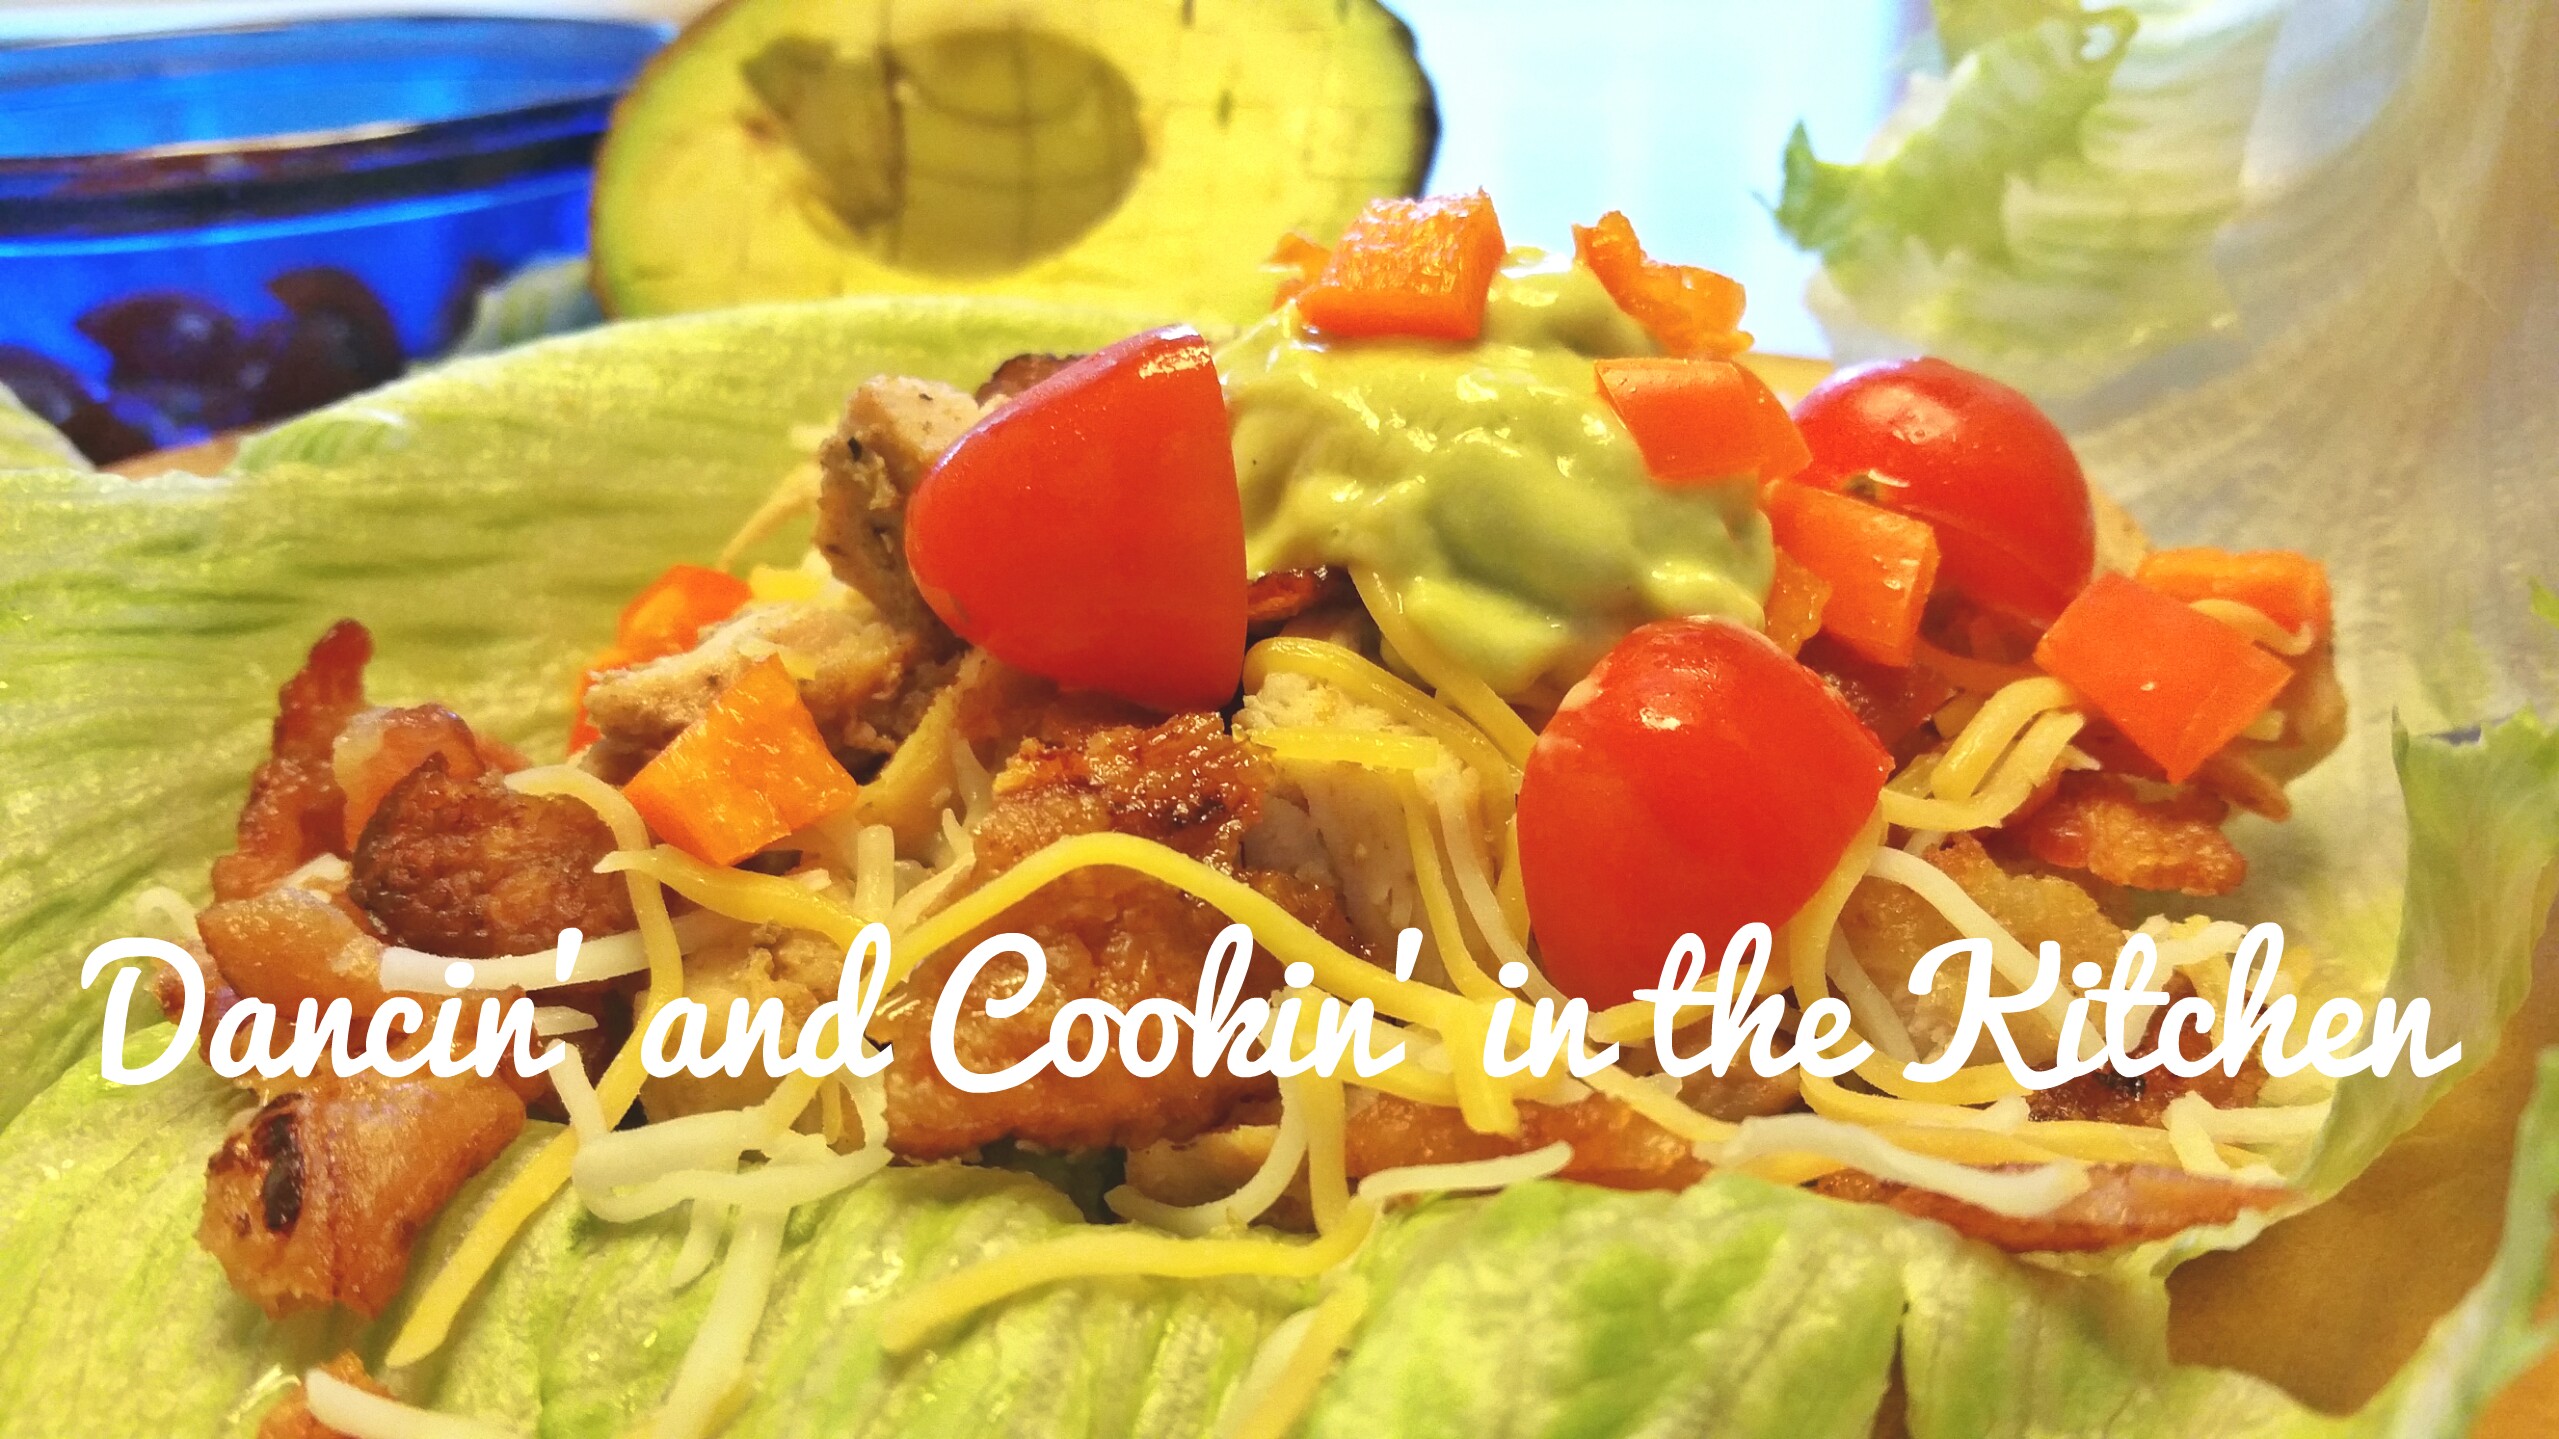
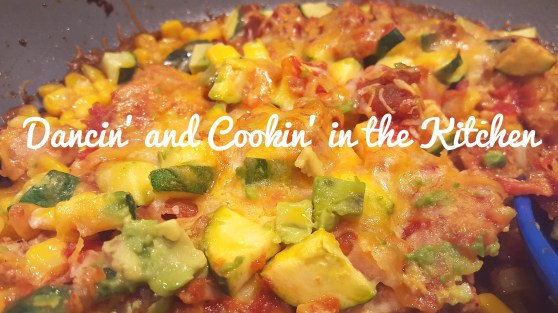
- 1 avocado
- 1 small zucchini
- 1/2 cup of your favorite salsa
- 3 slices of bacon, cooked and crumbled

- Preparation: Heat oven to 425 degrees
- If you haven’t, microwave/cook your bacon and cut/crumble into pieces
- Combine and mix together salt, pepper, paprika, chili powder, onion powder, garlic powder, cumin and cayenne pepper in a bowl. Sprinkle and rub spice mixture over chicken pieces. Drizzle on olive oil on top of seasoned chicken and rub pieces together to evenly distribute oil. Melt the TB of butter in a large OVEN SAFE skillet on medium/medium high. Once melted, BROWN the chicken on both sides to really get those spices into the chicken. (DON’T cook through, just cook until brown on both sides… 2-3 minutes per side)
- Remove the chicken from the pan and turn off the stove top. Cut the chicken into bite size (about 1″x 1″) pieces and return to the pan.
- Add the rest of the ingredients (BUT NOT THE AVOCADO!! That’s put on after it comes out of the oven!!) on top of the chicken in the skillet and place into the oven. Make sure that the salsa is poured over everything in the skillet to give it a bit of liquid to cook in. (MAKE SURE YOUR PAN IS OVEN SAFE!! You can also bake it in a baking sheet… I just didn’t want to dirty 2 dishes.)
- Bake at 425 degrees F for 10-15 minutes or until hot, bubbly and delicious smelling (and the chicken pieces are cooked through).
- Remove from oven sprinkle avocado over top and serve immediately.
*Optional: Serve with sour cream and chips!


And that’s it!!!
ENJOY!
And now, again, instead of a quote, I’m going to share ANOTHER of my new favorite songs to sing and dance to in my kitchen… also by Jordan Feliz: