Cajun Seared Salmon topped with a Simple Guacamole

I always forget how simple and easy fish is to make. I just always have to remember to thaw it properly in enough time for dinner! Ha! Luckily, yesterday, I remembered to put the frozen salmon into the fridge to slowly thaw the fish! I then ran it under WARM (not hot) water just before I cooked it while it was still in the vacuum sealed pack… just to finish the thawing. Once that was done… Dinner really took 20 minutes. Start to finish. How lovely is that?! Even if you work full time and need something quick to eat when you come home, this is a great answer! Serve this over a bit of rice, orzo pasta…. with some chips or… as is! I ate this with a few corn chips, and it was the perfect and filling dinner! I couldn’t even finish my portion of the salmon! DELISH though!

Salmon and a Simple Guacamole

image

INGREDIENTS

1-2 lbs salmon (I did 2 salmon steaks of sockeye salmon – wild caught)
1 TB olive oil (I used light extra virgin olive oil)
1 tsp salt
2 tsp Emeril’s Bayou Blast Cajun seasoning
2 TB butter
1 tsp black pepper
2 TB lemon juice

For the Simple Guacamole:

1 avocado, sliced
1 green onion diced
Juice from 1/2 of lemon
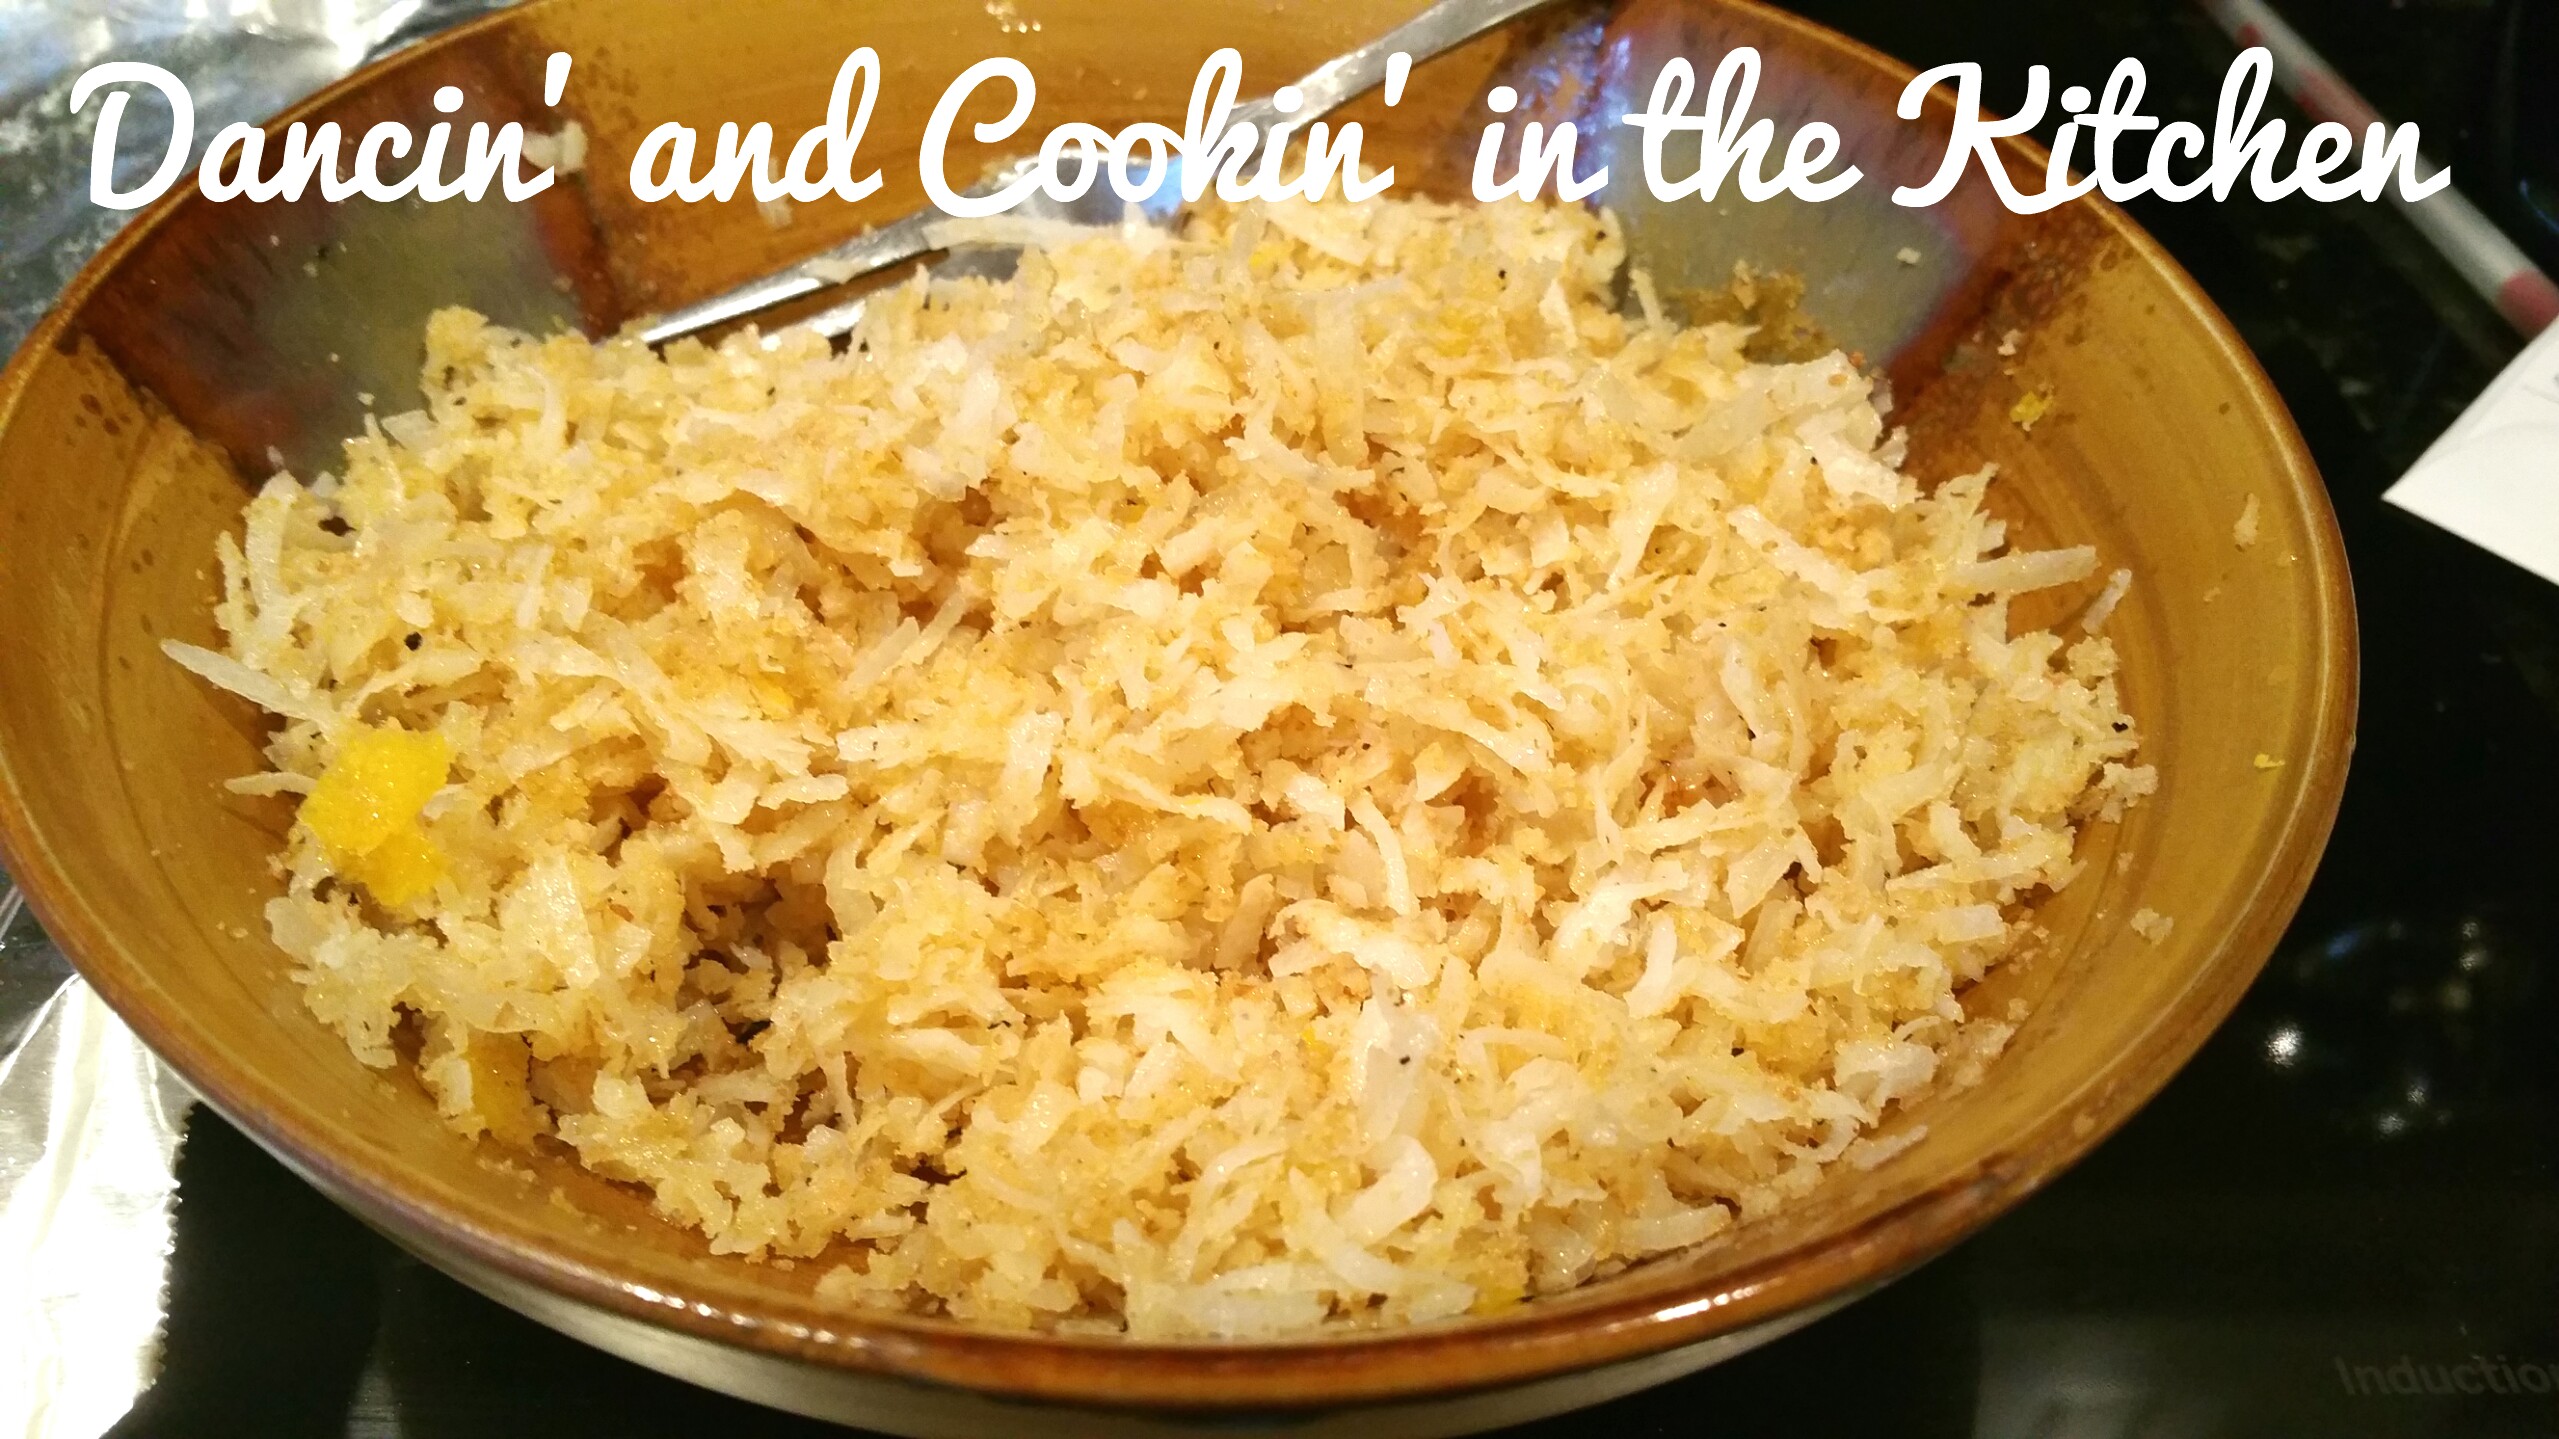
1/2 cup frozen corn (or fresh) slightly heated up and set aside
Salt and pepper to taste
2 TB chopped fresh parsley

image

INSTRUCTIONS

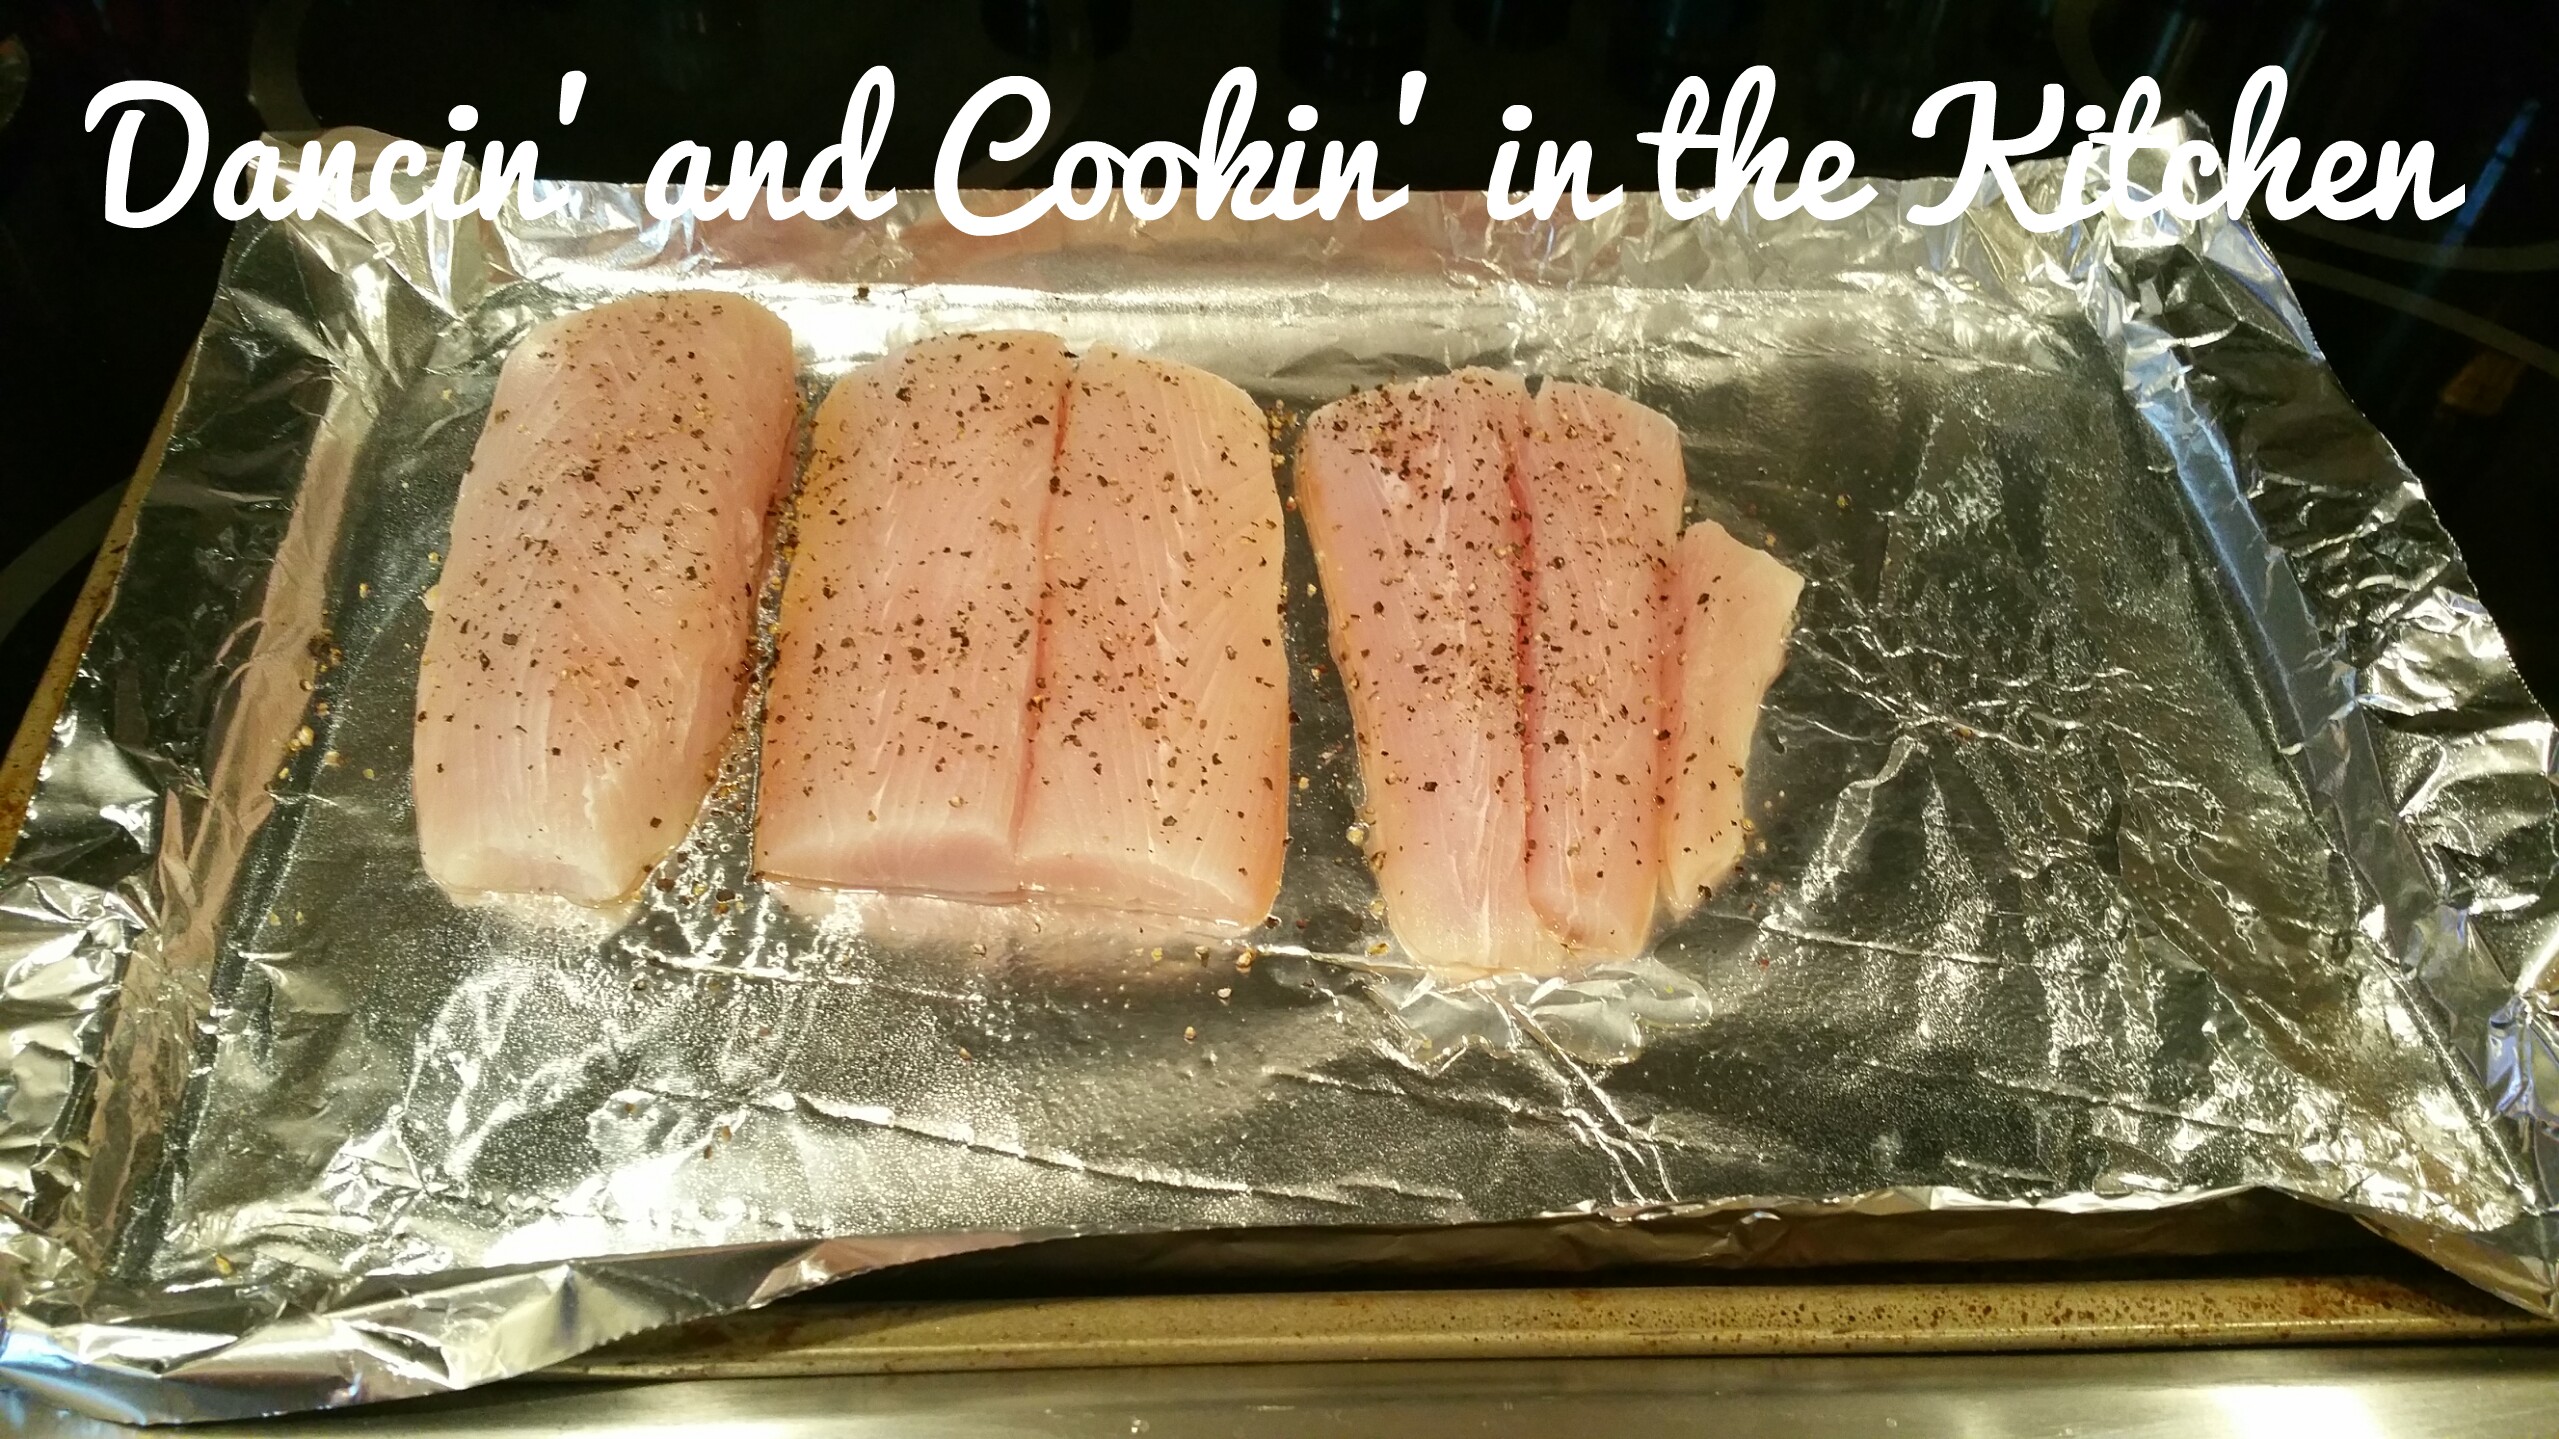
Drizzle the olive oil over the salmon and rub the Cajun seasoning over and into the top of each salmon steaks. Place in fridge until ready to cook. Preheat oven to 350 degrees.
Place the cast-iron grill pan onto the stove and heat to medium-high. Salt the grill pan lightly.
Combine the avocado, green onion, parsley, lemon juice, corn and salt and pepper in a bowl and mix well, chill until ready to use.
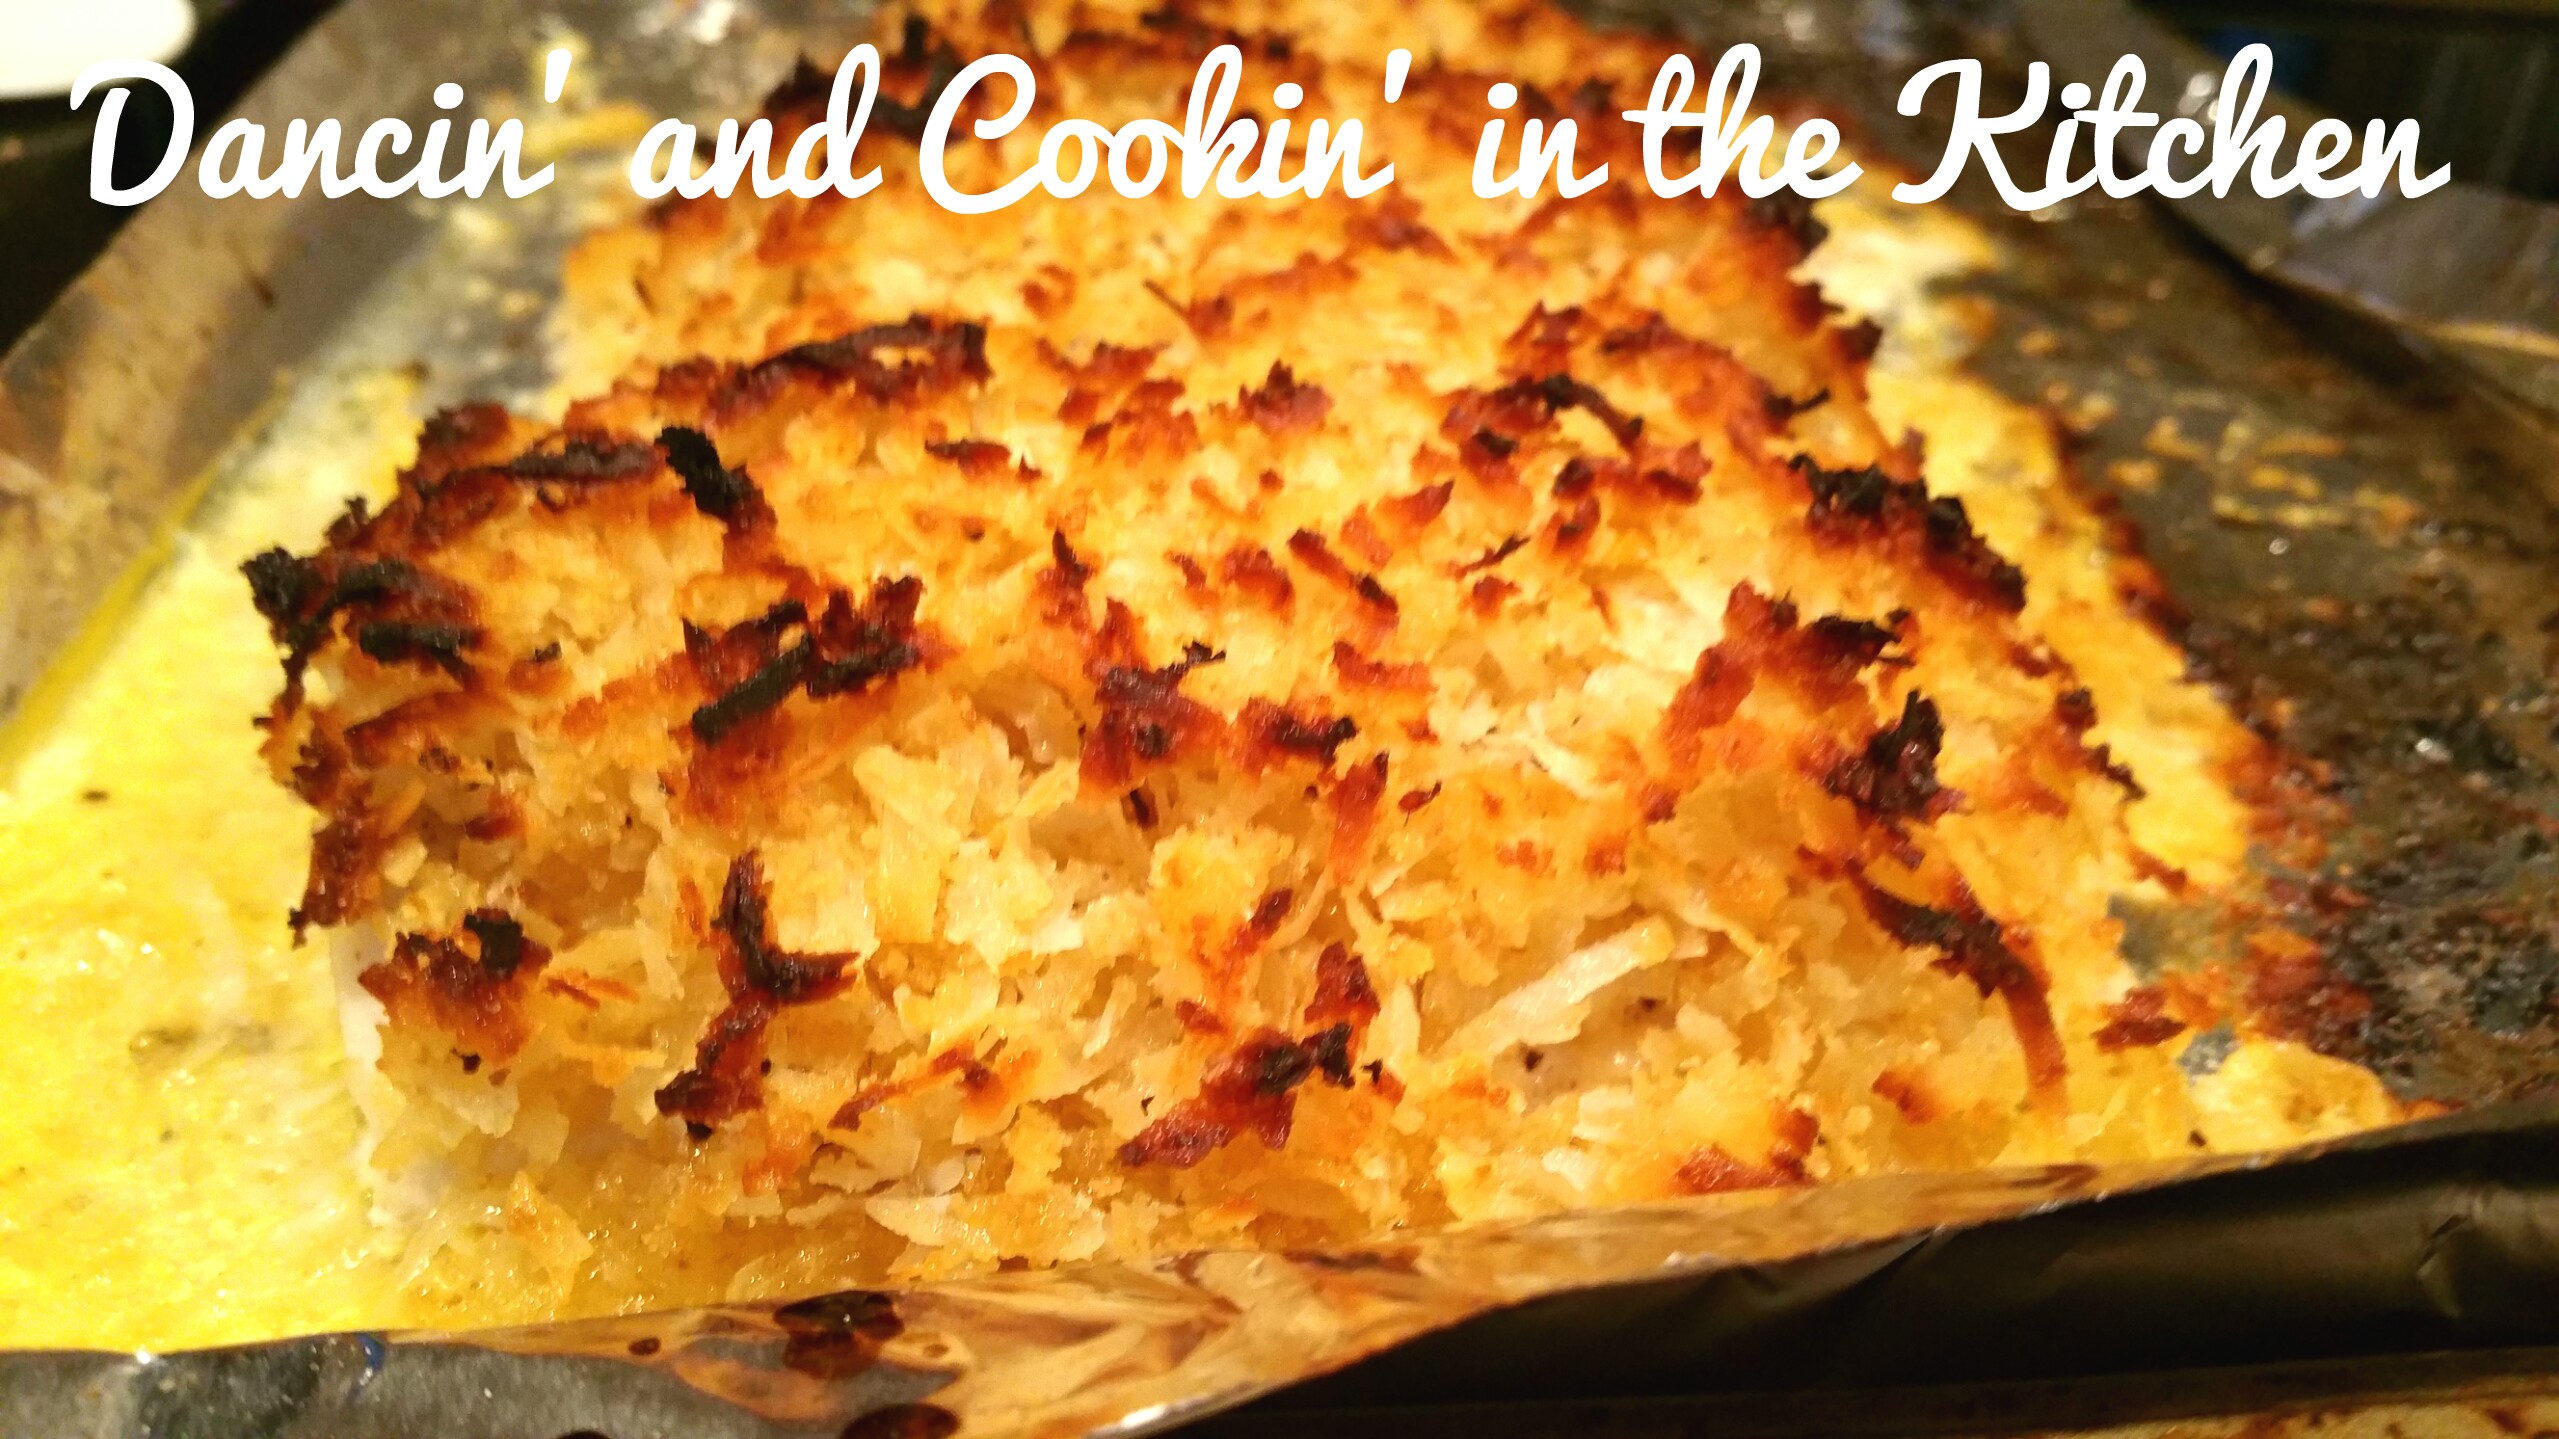
Grill the salmon skin side down on grill pan for 4 to 5 minutes. Top the salmon with pieces of the butter and the lemon juice and place into preheated oven (still on cast iron grill pan… make sure yours is oven safe!) And bake for 5-10 minutes to desired doneness. It really depends on the thickness of the salmon steaks. (I baked them for approximately 8 minutes.)
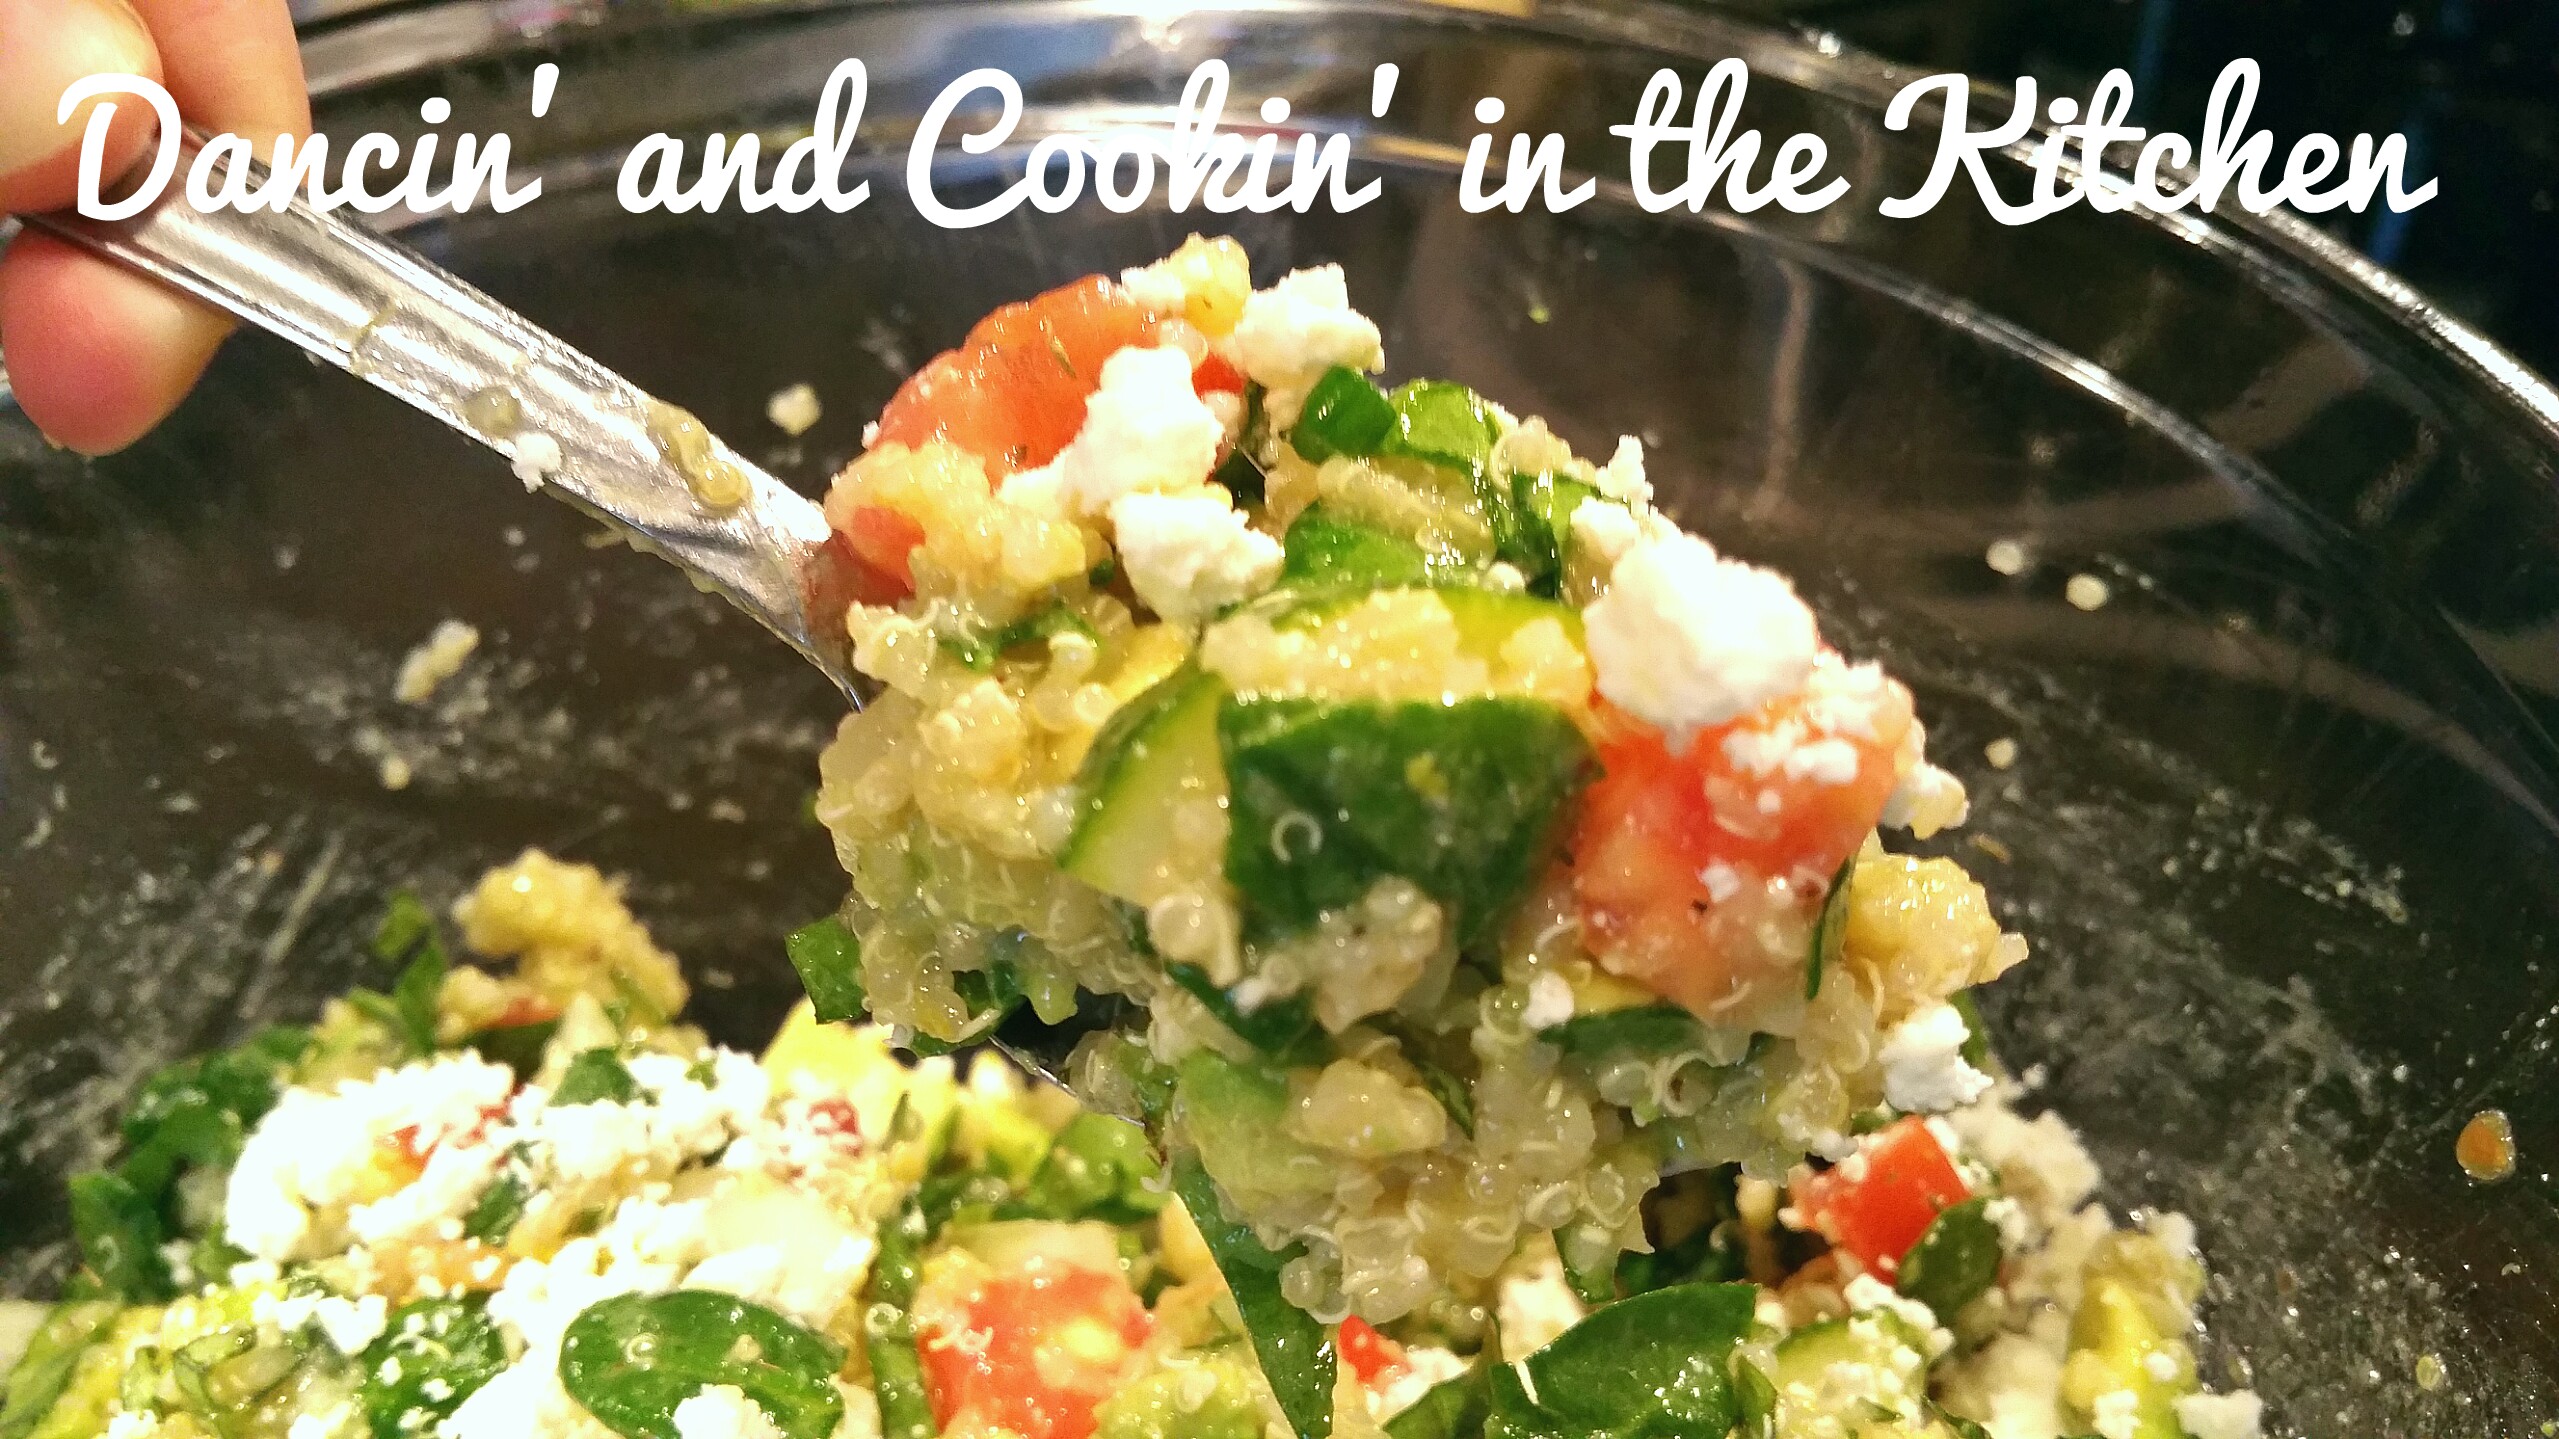
Top with some of the simple guacamole and enjoy!

image

And now, for the quote of the day:

image

Advertisement

Fresh Quinoa Avocado Spinach Salad

Sunday night I went to a marriage mentor group and it was requested that I bring a salad! I do love a fancy salad! Getting creative and figuring out how to make a new dressing, using fun ingredients and pumping up the taste and flavors… the BEST!

This one I found the original recipe on a website about the Mediterranean Diet and altered the salad adding a bit more flavor to it and hit the JACKPOT! It was delicious! The only thing I’d change is that I would have made it a bit more dry than I did. I added WAY more olive oil and lemon juice than they did originally… and I’d go half-way between the two… So the recipe below is exactly halfway between what I made, and the original recipe (on the amount of olive oil and lemon juice)

This one can be filling as a main dish for lunch, or an awesome side dish for a grilled hamburger night, or brats or pizza!

Make this one tonight! 🙂

wpid-1430760259854.jpg

Fresh Quinoa Avocado Spinach Salad

Ingredients

1/2 cup uncooked Quinoa, rinsed and drained*
1 cup water
1 vine-on medium tomato – seeded and chopped
1/2 cup shredded fresh spinach – chopped or torn into large pieces
1/3 cup diced FRESH basil
1/3 cup finely chopped yellow sweet (1 small)
1/4 cup fresh squeeze lemon juice (and the zest of 1 lemon)
3 tablespoons olive oil
1/8 tsp garlic powder
Salt and pepper to taste
 1 ripe avocado sliced and diced (pit removed of course!)
1/3 cup crumbled feta cheese
1/2 of a English Hothouse cucumber sliced and quartered

wpid-1430760454567.jpg

*Rinse quinoa thoroughly before cooking to remove a bitter substance called saponin that coats the seeds.

Directions

  1. In a 1-1/2-quart saucepan combine quinoa and water. Bring to boiling; reduce heat. Simmer, covered, about 15 minutes or until liquid is absorbed. (OR, as I did, use your Rice Cooker… EASY!)
  2. Transfer quinoa to a medium Mixing Bowl. Add tomato, spinach, basil, cucumber, and onion; stir to combine. In a small bowl, whisk together lemon juice, garlic powder, oil, and salt. Add to quinoa mixture; toss to coat. Add the diced avocado and gently toss.
  3. Sprinkle with some of the feta. Makes 4 main-dish servings.

wpid-1430760379847.jpg

Fresh AND filling!!

And now, for the quote of the day:

Lemon Thyme Chicken Thighs and Potatoes

I have seen a lemon thyme recipe on pinterest for the last few months and I’ve been craving it this whole time. I kept putting it off for other recipes for reasons unknown. So… the other night I decided that I was going to finally make this dish… with my own twist of course.

image

Ingredients

6 boneless, skin-on chicken thighs
1 tablespoon smoked paprika
1/2 tsp chili powder
Kosher salt and freshly ground black pepper, to taste
3 tablespoons unsalted butter, divided
1 tsp garlic, minced
1 cup chicken broth
1/2 cup heavy cream
1/4 cup freshly grated Parmesan
Juice of 1 lemon
1 teaspoon dried thyme
4 potatoes diced
2 TB parsley chopped for garnish

image

Instructions

Preheat oven to 400 degrees F.
Season chicken thighs with chili powder, paprika, salt and pepper, to taste.
Melt 2 tablespoons butter in a large oven-proof skillet over medium high heat. Add chicken, skin-side down, and sear both sides until golden brown, about 2-3 minutes per side; drain excess fat and set aside.
Melt remaining tablespoon butter in the skillet. Add garlic and diced potatoes (I used Yukon gold), and cook, stirring frequently, until fragrant, about 1-2 minutes. Stir in chicken broth, lemon juice and thyme.Bring to a boil. Return chicken to the skillet.
Place into oven and roast until completely cooked through, reaching an internal temperature of 175 degrees F, about 25-30 minutes.
Remove from oven and stir in the heavy cream and Parmesan and stir until well blended. Garnish with fresh chopped parsley.
Serve immediately.

image

This had a TON OF flavor! It was absolutely delicious! I loved every bite, as well as the leftovers today!  You definitely want to try this one! Taste as you go so you don’t put touch salt in it! And use low sodium chicken broth to make sure that, along with parmesan cheese, it doesn’t get too salty. 🙂

And now, for the quote of the day:

image

Chicken and Veggie Parmesan Skillet

I can’t believe I forgot to post this last night! This one was so fresh… and the veggies added a nice crunch! We did eat a bit later last night though.
This one took me about 20 minutes. It’s quick, easy, low carb (unless you have bread as a side like I did… haha) fresh and summery! Perfect quick dish on a weeknight!
My mom had my daughter last night, so I had just my son when I was making dinner. Isn’t it strange how when you go from 2 kids (or however many you have) to 1 less… the world suddenly seems so easy? Everything is simple all of a sudden . Butterflies are everywhere, birds are chirping, you can smell the roses… lol. But seriously. I sat and talked with him and had time to give him my full attention… and he LOVED IT! I’ve gotta do that more. Have focused one on one time with each of them. They just BLOOM (only term that seemed to properly describe it) in that time. I learn new stuff about them, they talk and just snuggle into me. I cherished it. 🙂
Ok, back to food.

image

INGREDIENTS:

1/2 tsp garlic, minced
2 TB olive oil
1/4 cup fresh lemon juice
Zest of 1 lemon (about 1 TB)
6 chicken tenderloins (or 3 chicken breasts)
Salt and pepper to taste
1/2 tsp dried oregano
Dash cayenne pepper powder
1/4 cup white wine (or chicken broth)
2 TB butter
1/4 cup chopped onion
3 sweet mini peppers chopped
1/2 cup frozen broccoli florets
1 cup frozen veggies: carrots, green beans, etc. Your choice
3 tbsp grated Parmesan cheese

image

DIRECTIONS:

1. Cook garlic, carrots and onions in a large skillet over medium heat for 1 to 2 minutes. Add chicken, salt and pepper, oregano, cayenne powder and lemon juice and the black pepper; cook 4 to 5 minutes on each side or until chicken is done (165º F.).

2. Add in the vegetables and white wine (or chicken broth) and butter; cook 2 to 3 minutes or until heated through, stirring occasionally.

3. Sprinkle generously with the Parmesan cheese.

Serve! This makes 3 – 4 servings depending on the size of serving you take. I served it with a couple of slices of bread. You can do quinoa, pasta, or some fruit! Totally up to you! This one was amazing!

image


And now, for the quote of the day:


!

Tropical Coconut Crusted MahiMahi with Coconut Lemon Rice

I am still learning how to cook fish. Each fish type is a bit different. You cook salmon differently than you would mahimahi. You make tilapia differently than you do mahimahi. All different textures and thicknesses. So, for me, it’s a bit hard to take the time and effort to master each one. I am getting closer with salmon… SO CLOSE!! 🙂

This recipe… MASTERED MahiMahi! I’m telling you, it’s AMAZING! If you follow it closely, you will be quite happy with how it turned out! IF you love coconut that is. 🙂 Seriously… tropical and fresh, flaxy and tender… this is an awesome recipe!

I was inspired by this recipe: http://www.bubblews.com/news/788347-coconut-crusted-mahi-mahi-recipe

I changed a few things, so the recipe below is mine, but the inspiration DEFINITELY came from the recipe above!

wpid-1428629645141.jpg

Ingredients:

1/2 cup of bread crumbs (I used 2 pieces of dried whole grain bread and blended in my NutriBullet)
3/4 cup of Sweetened Flaked Coconut
1 teaspoon of finely zested lemon zest
1 tablespoon of fresh lemon juice
3 tablespoons of olive oil
4 (6 oz.) mahi mahi fillets
Sea salt and freshly ground black pepper

Ingredients for Coconut Rice:

1 cup rinsed White Jasmine Rice
1 can light coconut milk
2 tsp fresh lemon juice
salt and pepper

wpid-1428629369817.jpg wpid-1428629428495.jpg

Instructions:

Rice:

Place rinsed jasmine rice into a Rice Cooker and then pour the can of Light Coconut Milk over the rice and let cook. Will just switch to warm when it is done. When the rice is done, put it into a large glass bowl and add the lemon juice and salt and pepper and toss to coat. Set aside covered to keep warm waiting to serve with the fish.

Fish:

Preheat the oven to 425 degrees F. and then line a baking sheet with Aluminum Foil and spray it with cooking spray. You can use a Cooking Spray Mister.

If you do not have Panko Bread crumbs, or other PLAIN breadcrumbs, you can do as I did. I took 2 dried pieces of whole wheat bread, placed it into my nutribullet, and ground it into crumbs! Worked perfectly!! You can also use a Food Processor or a Blender.

Now take a small glass bowl and add in your bread crumbs, coconut, lemon zest,  and lemon juice and whisk your ingredients together. Then drizzle 2 tablespoons of your olive oil over your coconut mixture and mix the olive oil into your ingredients. Set this aside for use later.

You now want to liberally seasoning both sides your mahi mahi filets with your salt and pepper.

Now place your mahi mahi on your prepared baking sheet and place them into your preheated oven and bake for 5 minutes. After 5 minutes remove your baking sheet from the oven and drizzle 1 tablespoon of olive oil over your mahi mahi fillets. Then divide your coconut mixture between your fillets and cover the entire top of each fillet with your mixture. This will create a wonderful crust when baked. Now return your baking sheet to your oven and bake until golden brown and your fish can flake easily with a fork. This should take an additional 10 minutes.

Then remove your coconut crusted mahi mahi from the oven and let them rest for 5 minutes before serving.

Serve over rice and with a veggie.

wpid-1428629483477.jpg

wpid-1428629695295.jpg

You will TRULY enjoy this! My husband gave it the gold seal and said that he’d order this at a restaurant and then go back for more! It’s seriously  one of the best recipes for MahiMahi I’ve ever had!!!! I will definitely be making this one again.

And now, for the quote of the day:

31e6ea871a81730607c281d983d251c7

Lemon Ricotta Spaghetti with Spinach

So, as I have decided to lose a few LB’s and cut out my carbs except for at dinner, carbs are kind of my focal point at dinner. When you look forward to it ALL day… it’s a special meal! I never knew you basically go through a type of detox from carbs and sugars when you start to cut them out. I mean, back in college I did the “South Beach Diet” and I remember something about that. 🙂 I truly am realizing it though. Cravings because your body is wondering what the heck is going on!
So, I decided I need carbs. I do need to cut back as I’ve previously said because it gets a bit ridiculous. … but I needed more veggies and greens and FRESH fruits in my life!
At least this pasta dish has spinach greens and lemon zest! Right?! 🙂 Ricotta cheese adds protein too!  I calculated an approximate 8g of protein per serving, and if you toss some shrimp or chicken in it (as suggested by my awesome friend) it will up that protein content quite a lot!

image

Ingredients

Salt and pepper to taste
1/2 pound spaghetti
1/2 cup whole-milk ricotta
1 tablespoon olive oil
1 teaspoons grated lemon zest
1 TB lemon juice
1/4 tsp garlic powder
1 cup chopped (or whole) baby spinach
2-3 tsp. Parmesan cheese
1/2 tsp oregano
1/4 tsp dried thyme
1/4 cup pasta water set aside

image

Preparation

Prep: 5 Minutes
Cook: 10 Minutes
* Bring a large pot of salted water to boil. Add spaghetti and cook until al dente, about 10 minutes.
* In a bowl, stir together ricotta, olive oil, lemon zest and salt&pepper, garlic salt, grated parmesan, lemon juice, oregano and thyme. Season with salt and pepper.
*Drain spaghetti, reserving 1/2 cup cooking water. Return pasta to pot and stir in ricotta mixture, spinach and 1/4 cup pasta cooking water. Toss well, adding more pasta cooking water 1 Tbsp. at a time, if necessary. Serve hot.

image

This was quite delicious! Filling as well! I enjoyed every last bite! 😉

And now, for the quote of the day:

My husband’s current favorite meme going around the Internet

image

Hummus!!

No picture this time, BUT, at least there is a recipe! We LOVE hummus at our house, and we go through a lot! I try to get more protein in my little 5 year old who turns her nose up at most meats… and my 2 year old who likes something one day, and will spit it out and gag the next. SO FRUSTRATING! But, at the moment, hummus has been a hit! So, we’re going with it! I was completely out of hummus, but had a can of garbanzo beans and wanted to make some… so, I checked, and the only ingredient I didn’t have was Tahini… so I made it without. Pretty good! I would say it probably is a bit better with the Tahini (made from sesame seeds), but this was quite good! I even threw in some flaxseed meal to give my kids a bit extra protein. Whatever I can do!

Ingredients:

1 can of garbanzo beans
juice of 1 1/2 lemons
zest of 1 lemon
1/2 tsp minced garlic
1/8 cup (approx) of olive oil
1 tsp flaxseed meal


Directions:

For the most smooth results, you will want to rinse the canned garbanzo beans in a colander, and then peel. You do not HAVE to peel the garbanzo beans, it just results in a smoother hummus. In a food processor (or magic bullet) you put all of the ingredients and blend until smooth! Done!


Enjoy!

Light Summer Lemon-Yogurt Pasta with Veggies and Shrimp

shrimplemonyogurtpasta

Adapted from Jillian Michaels’ “The Master Your Metabolism Cookbook”

Light Summer Lemon-Yogurt Pasta with Veggies and Shrimp

Serves 4 (calories: 323 per serving)

  • 8 OUNCES WHOLE WHEAT LINGUINE (OR YOUR PASTA OF CHOICE)
  • 1/2 CUP NONFAT PLAIN GREEK YOGURT
  • 1/2 SWEET ONION CHOPPED
  • 1/4 CUP GRATED PARMESAN CHEESE
  • 1 TEASPOON GRATED LEMON ZEST plus the juice of 1 lemon
  • 1/4 TEASPOON SALT
  • 1/4 TEASPOON GROUND BLACK PEPPER
  • 1 TABLESPOON OLIVE OIL
  • 3 MEDIUM (8-OUNCE) ZUCCHINI, CUT INTO THIN STRIPS (3 INCHES LONG AND 3/4 INCH WIDE, LIKE A BIG STICK OF GUM)
  • 2 GARLIC CLOVES, THINLY SLICED
  • 1/2 PINT GRAPE OR CHERRY TOMATOES, HALVED LENGTHWISE
  • 20 medium shrimp (peeled and de-veined and baked at 400 w/oil and salt and pepper for 8-12 min depending on size of shrimp)
  • 1 red bell pepper sliced


DSC_0633 DSC_0638

  1. Bring a large pot of water to a boil. Add the pasta, and cook about 9 minutes, or according to the package directions. Drain the pasta. Set aside.
  2. Meanwhile, in a large bowl, stir together the yogurt, Parmesan, lemon zest, lemon juice and salt and pepper. Set aside.
  3. In a large skillet, heat the olive oil over medium-high heat. Add the zucchini, and cook just until wilted, flipping them over occasionally with a spatula. (The zucchini will be soft and somewhat see-through.)
  4. Use a spoon or spatula to push the zucchini aside so a space on the bottom of the pan is clear. Add the garlic, and onion and cook for 15 to 30 seconds, until golden but not really brown.
  5. Mix the garlic into the zucchini.
  6. Stir in the tomatoes and bell pepper and cook until softened, about 2 minutes.
  7. Transfer the zucchini mixture to the yogurt mixture, and stir to combine. Add the drained linguine, and toss gently to combine. Divide among four bowls and serve.


e00c044a082d4dbbaf4fb1b47b517493

My FAVORITE homemade Salad Dressing Vinaigrette!

The juice of 2 lemons
1 tsp. minced garlic
2 tsp. grated parmesan cheese
Equal parts olive oil (or a lighter oil) to lemon juice
2 TB fresh chopped cilantro or parsley
1 TB honey
1 tsp. spicy brown mustard

Blend together. I have a Pampered Chef salad dressing mixer that I use. You can also wisk it and store it in an old jam jar or mason jar. You can store it for 10-14 days in your refrigerator.